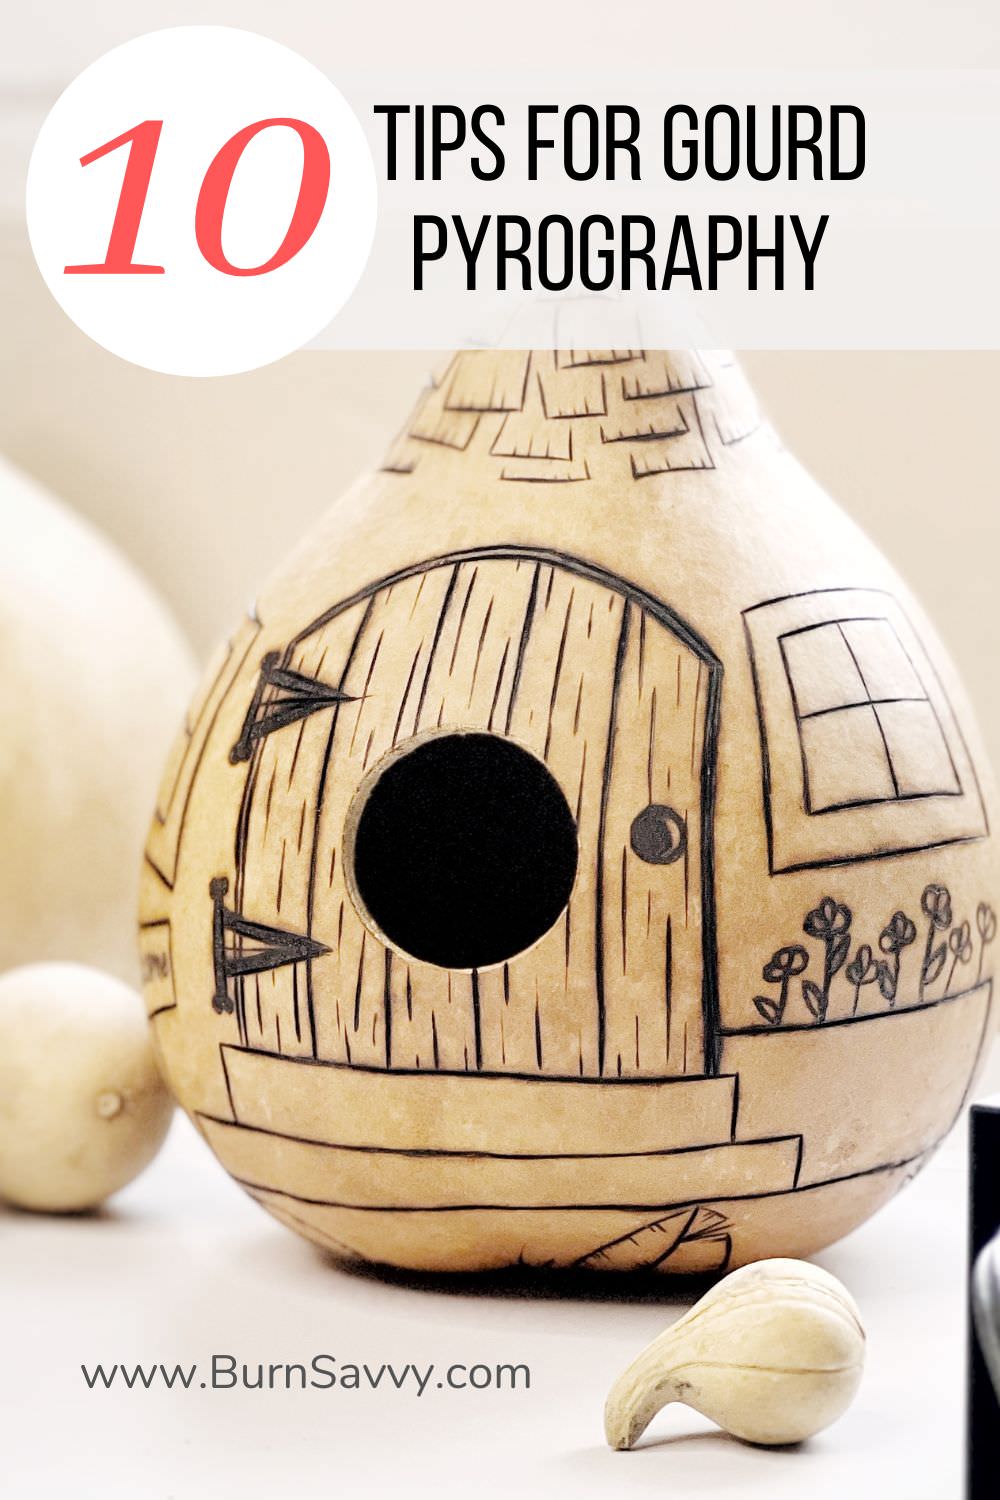
Top 10 Gourd Pyrography Tips I Learned
Ever wanted to try gourd pyrography? Woodburning gourds is super fun... but it's different than burning wood.
They have their "quirks", you know.
If you're itching to try it, first check out these 10 tips I learned when woodburning gourds for the first time.
It may save you from making the same mistakes I did.
Want To Learn How To Wood Burn?


Courses are now available on the Burn Savvy YouTube channel membership!
Go see which level suits YOU best. ⇣
You can also watch the video here!
Watch this video as I tell you the top tips I learned when woodburning gourds.
Disclosure: This post contains affiliate links. If you buy something through them they throw me a small commission at no extra cost to you. I believe in these products so you know you are in good hands. ;) Plus it helps me to keep making *awesome* free content for you (learn more). I appreciate your support!
Before we start...
I always get asked where you can get the tools and supplies I use.
So if you're interested, here are links where you can find the same awesome stuff I use.
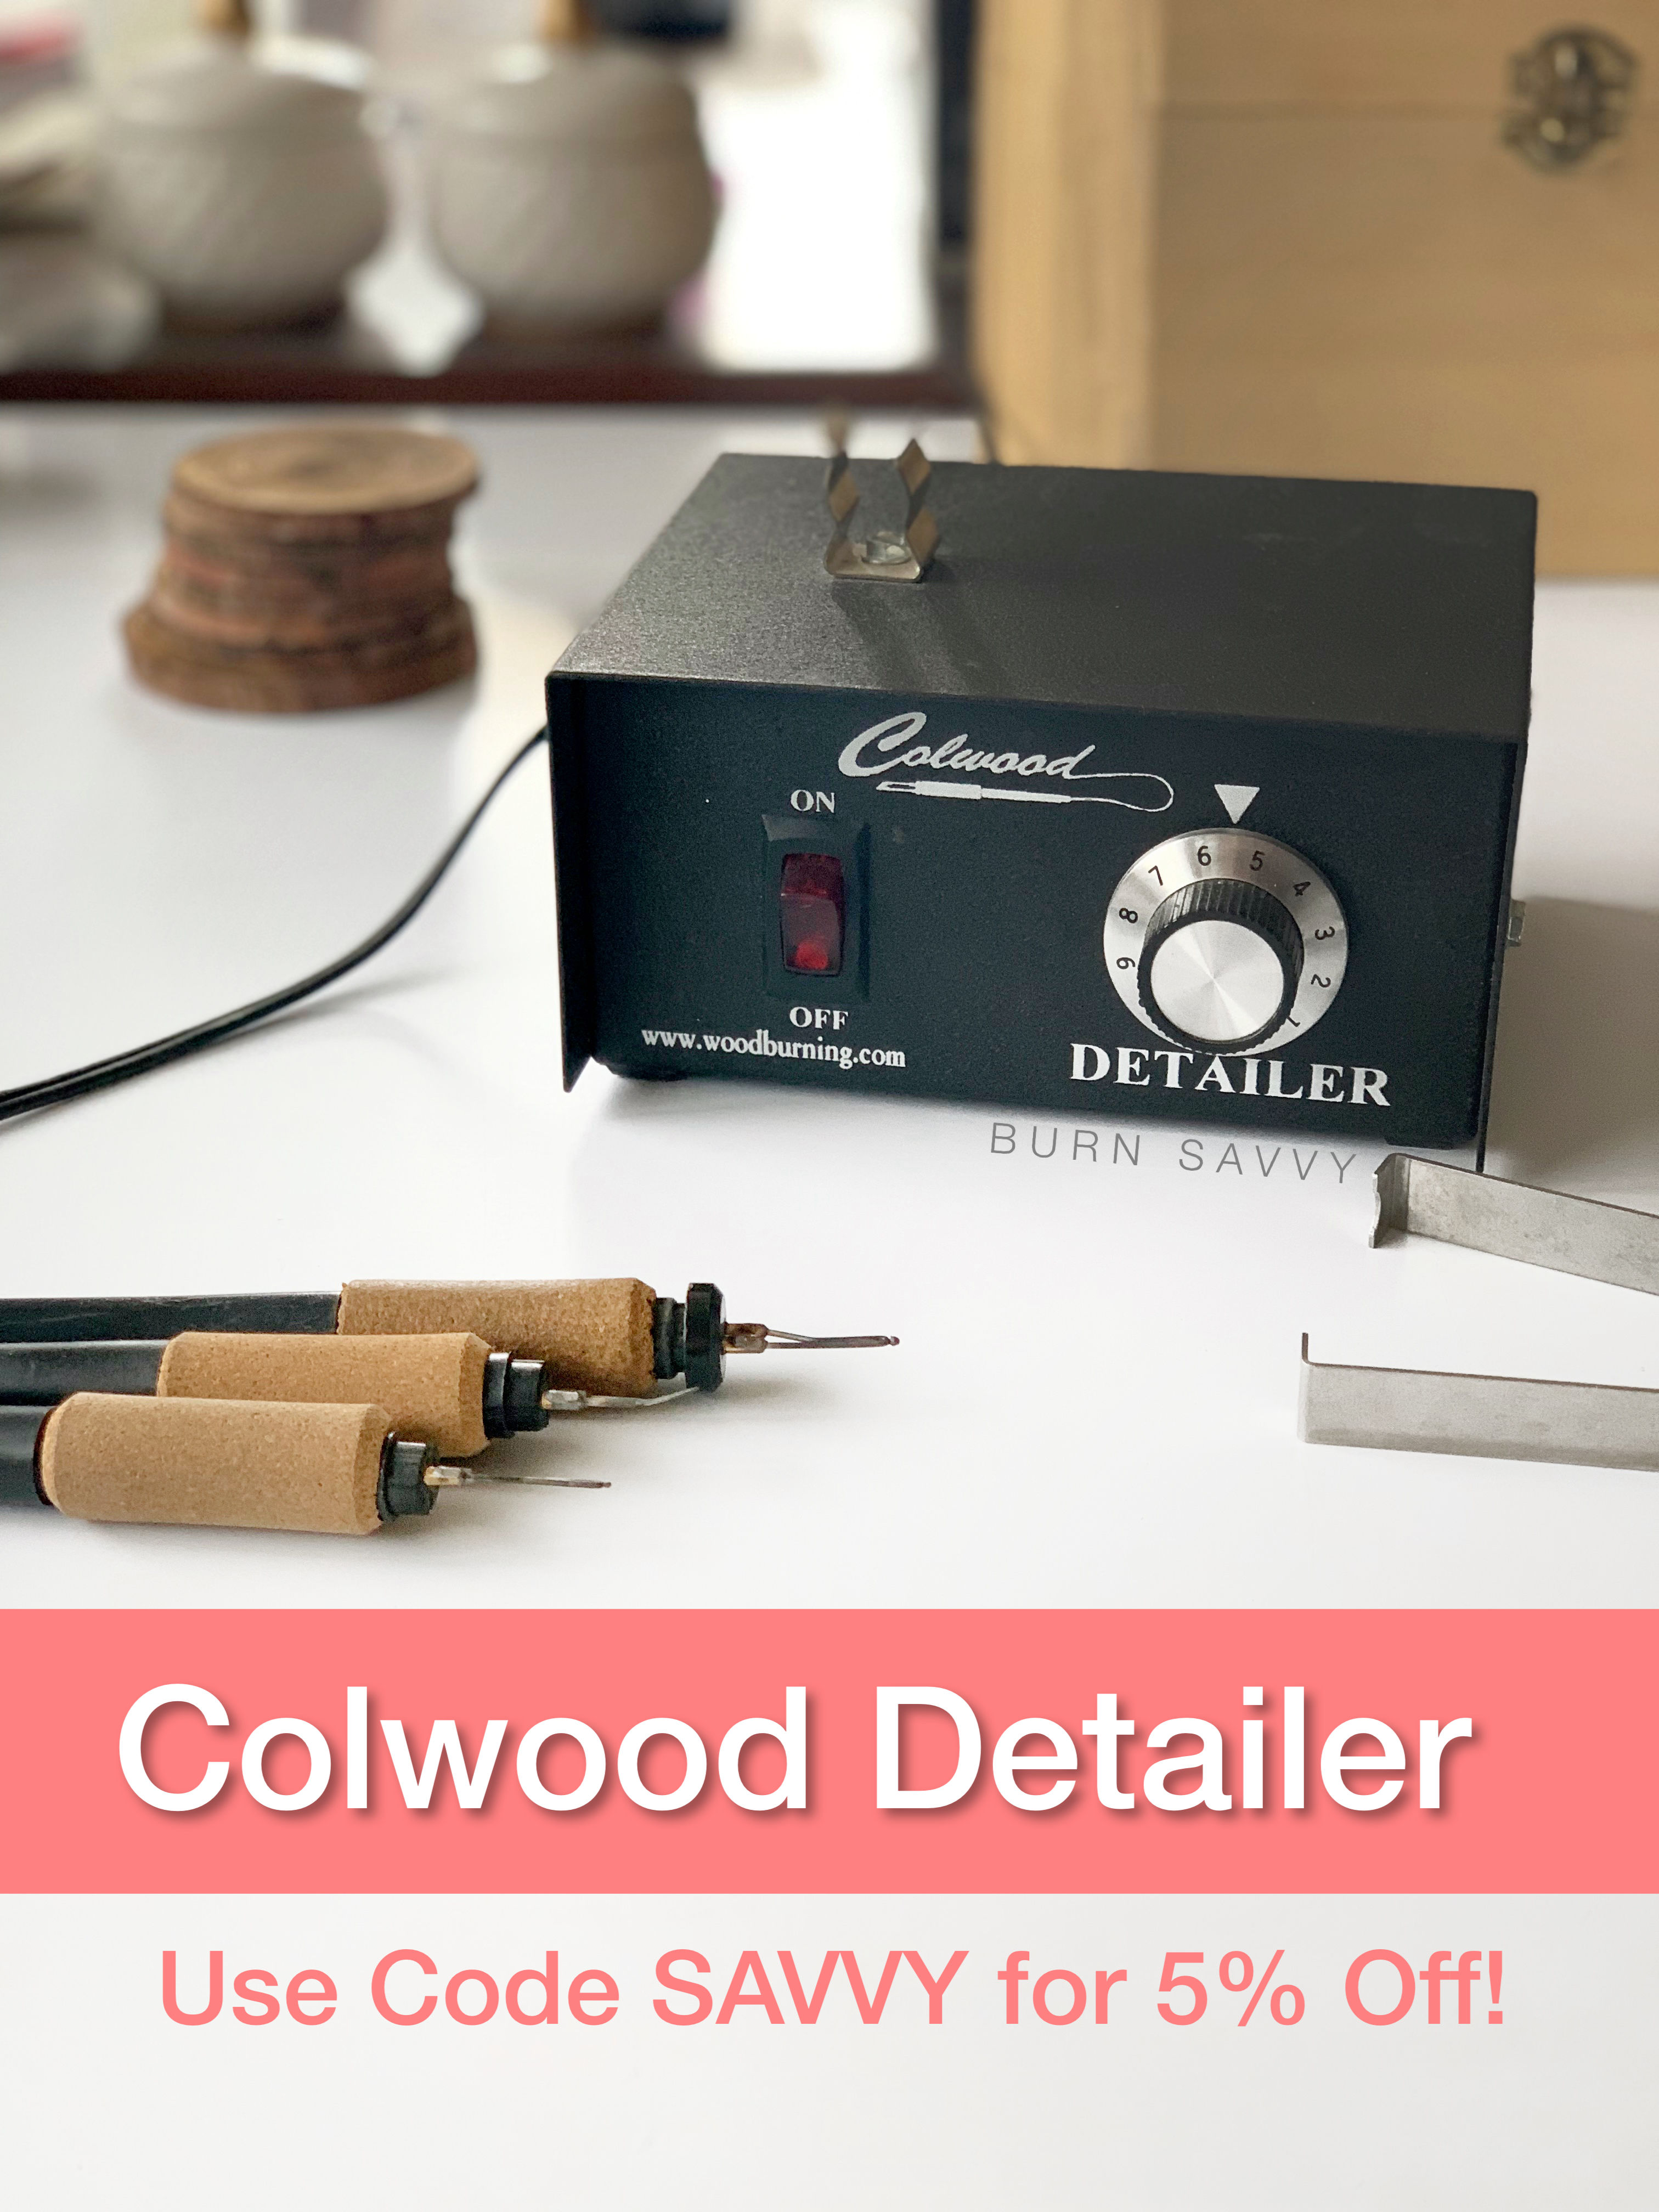
BUY MY FAVORITE BURNER ON BEARWOOD.COM
Use Code SAVVY for discount!
Okay. On to the main event.
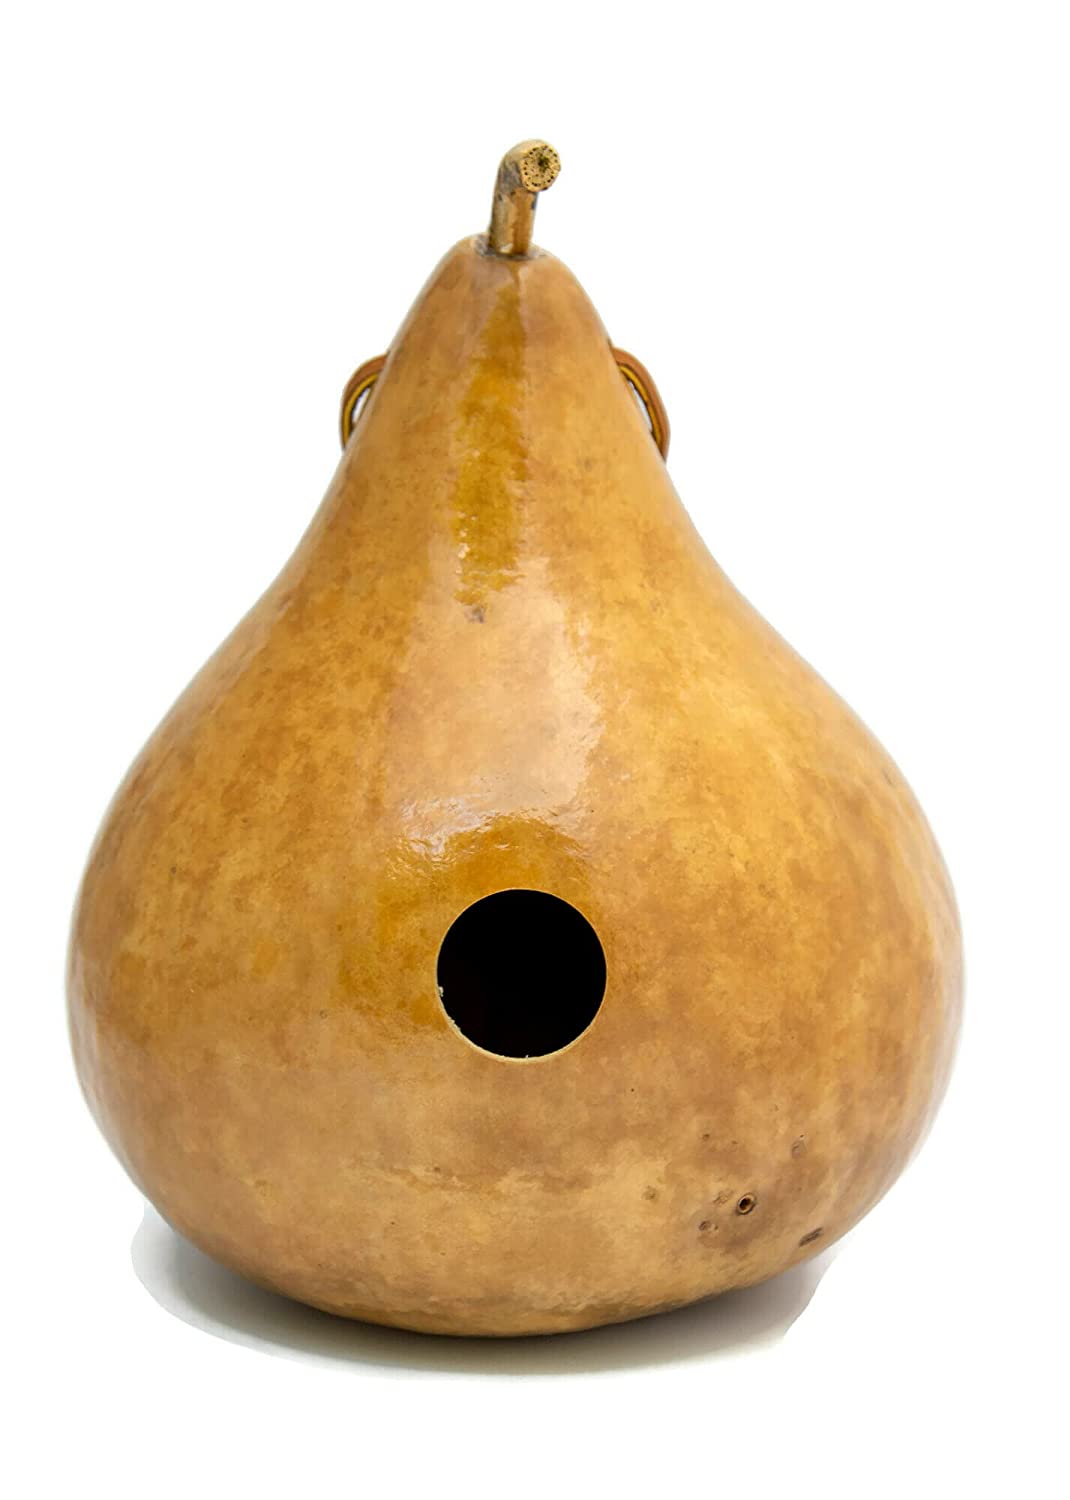
1. You don't need to sand gourds
Once it's been cleaned, you really don't need to do any more preparation. It's already been prepped!
Gourds have an outer layer that generally turns yellow-ish brown as it dries. Then there is a lighter color substance right under that skin.
If you sand the gourd, the light under skin will show through.
That could be cool if you want that whitish layer to show through.
But if you don't want the white to show through, don't sand your gourd!
2. You can prop your hand on the gourd itself
That is... if the gourd is big enough.
Typically when I burn, I like to prop my hand up to the same level that I'm burning.
For example, if I have a 4 inch tall project, I find something else that's about 4 inches tall to prop my hand up.
This helps me avoid stressing my hand out, makes my grip relax, and eases tension on my wrist.
But larger gourds are big enough to rest your hand on, so you won't need anything else to prop up your hand.
3. The under layer seem to burn faster
The top yellow layer is very thin.
Under that top layer, the white-ish layer of the gourd feels like styrofoam to me.
The "styrofoam" part felt to me like it burned faster than the upper protective yellow layer.
It seemed to me that it would be very easy to burn holes through it.
Again, if you're not going for a hole, be super careful if you're woodburning gourds past that upper yellow surface.
4. Gourds get squirrely
Round surfaces area already tricky to burn. But if you're burning a bowl or a spoon, you have a flat side to lay it down on.
Not so with woodburning gourds.
Being entirely round, they want to roll around and make you chase it - especially if you're resting your hand on it.
You need something to prop it up and stay put.
I found that bean bags were really good for holding it in place. I could turn the gourd quickly and easily while it stayed exactly where I put it.
5. They like a higher heat
More like a harder woods, woodburning gourds takes a higher heat than softer woods.
Just remember that they are THIN.
As a reminder - the same as with any other surface - you never want to press hard.
Pressing hard just stresses your hand, gouges the surface, and puts your tools at risk of breaking or bending.
If you press too hard and it doesn't damage your tool, you might burn a hole through it.
If you want a hole burned through, don't press, just crank the heat (if you can), set it where you want the hole, and let the heat do the work.
6. Shading on a gourd is harder
Shading on gourds is more difficult than shading on a wood surface.
At least it was for me!
That's not to say it can't be done. It can.
It's just going to take a lot more time, more effort, and more patience.
7. Gourds are unforgiving
Man, I thought wood was unforgiving!
But if you make a mistake on wood, at least you can use sandpaper, a razerblade, knives, or even a chisel to scrape it off.
Not so with woodburning gourds.
Like I said before, since the surface color is different than what is just barely underneath it. Sanding would reveal your mistake. Chisels might break the gourd.
So if you happen to make a mistake, do your best to just blend it in.
8. Burns can flake off
If the carbon or ash gets too thick on the gourd, it can flake right off.
Once it flakes off, sometimes it leaves the white undersurface revealed.
That could look really cool if you carve it to reveal that surface, but flaking burns don't look "on purpose".
And another thing, those flakes come off HOT.
I got a couple tiny burns from the flaking pieces flying off and hitting my arm while I was burning, and it sure made a mess on my table!
So even though they take a higher heat, try to keep in on the lower end of high (if that makes sense!).
Don't let the tool get hotter than it needs to be or the flaking happens more often.
Find a balance.
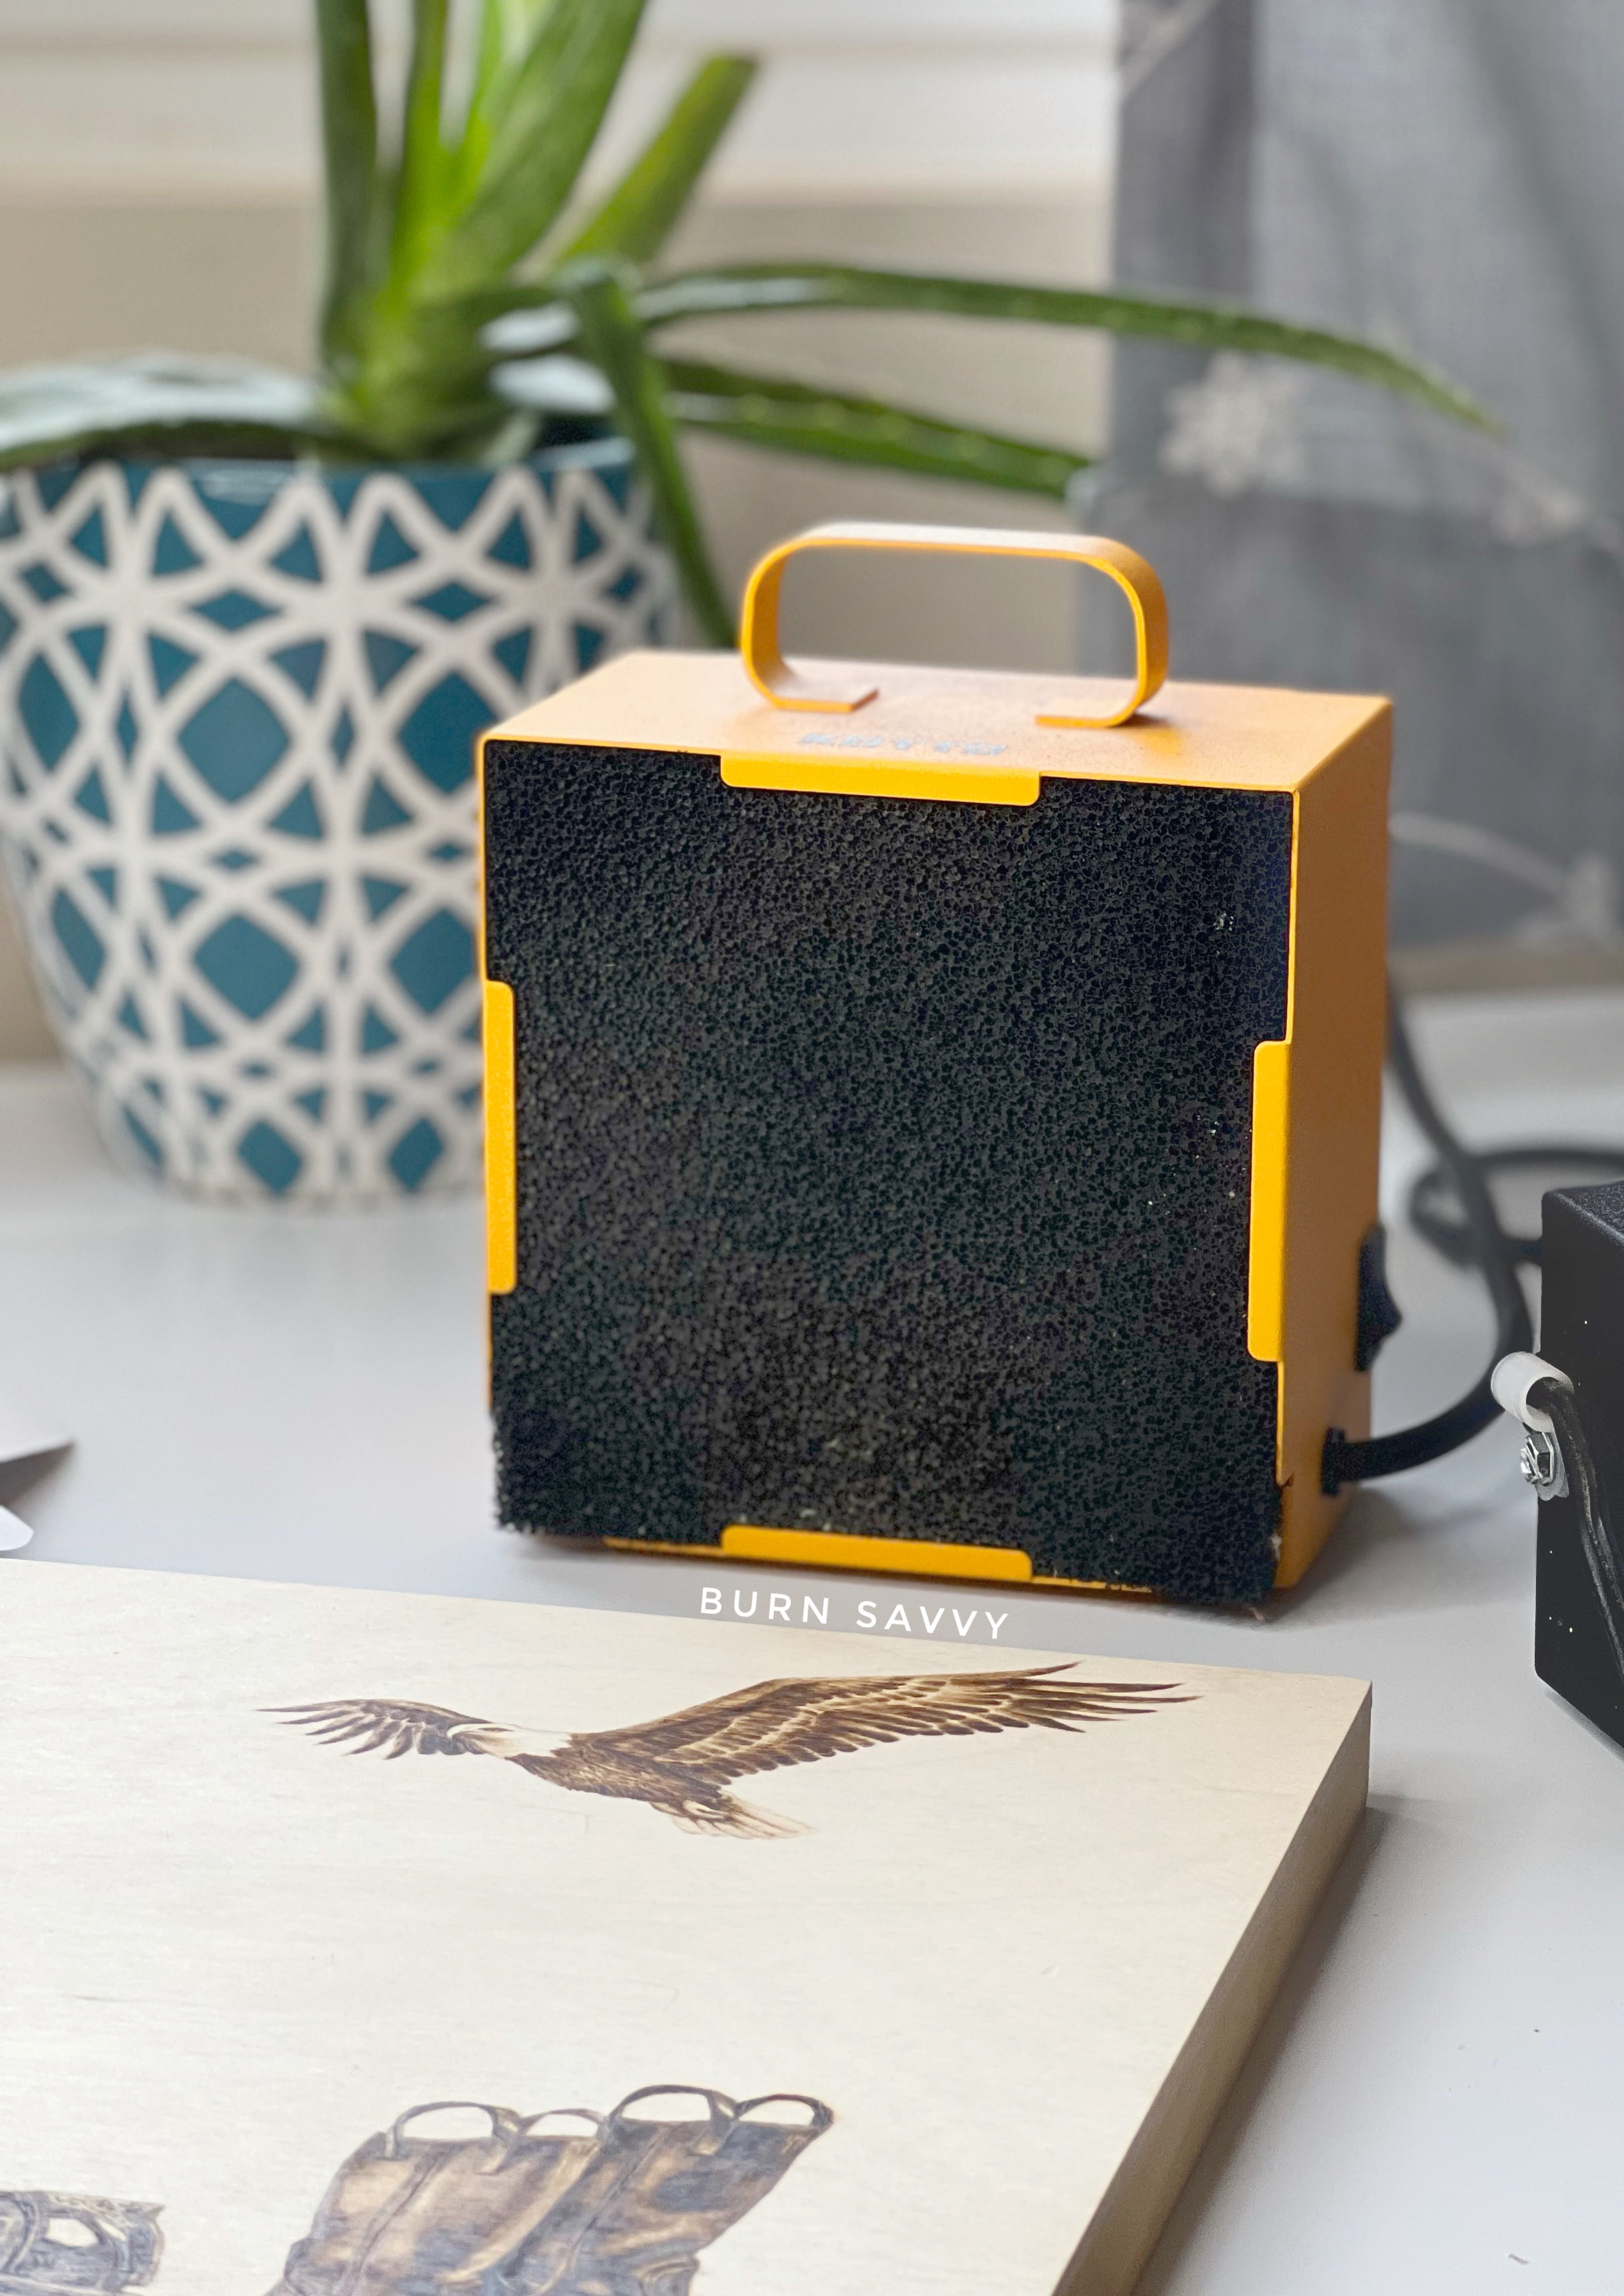
9. Gourds are super smokey
If you didn't watch the video, you should.
That smoke just billows!
If you're burning gourds, I highly recommend using lots of ventillation - or burn outside if you can.
I also recommend using a mask with a carbon filter to protect your lungs from smoke.
Another great tool that I use for smoke is my carbon filter fan, a.k.a. a fume or smoke extractor. I set my fan right next to the project I'm burning and it pulls it in, filtering most of the smoke out of the air.
This is the carbon filter mask and the carbon filter fan I personally use.
You can follow my affiliate links to buy these exact same ones, or to find ones that better suit your needs.

10. Gourds need a different kind of sealant
I wanted to make sure my gourd was protected - especially from the elements since this one is a birdhouse and will go outside.
To properly protect your gourd art, the pros use natural shoe polish.
Even though it isn't UV resistant, the polish allows the gourd's shell to shrink and expand with the weather without cracking the finish.
Burn Savvy Home > Gourd Pyrography
Want to seriously up your pyrography game?
I'm spilling my pyrography secrets. Don't miss out on...
- Your FREE guide to woodburning tips & their uses
- Helpful tips, hacks & articles
- First dibs on upcoming courses
- Notice of retreats, challenges, and other pyrography events
- and so much more coming!
So go ahead. Subscribe. Consume. Enjoy.
You deserve it.
⇣ Enjoying your FREE pyrography tips & techinques? ⇣
I am delighted you find them helpful!
If you want some easy ways to give back, here are some ideas that also help YOU level up YOUR wood burning game...
- Watch my YouTube videos (that's totally FREE).
- Buy your woodburning products through my affiliate links which throw me a dime or two at zero extra cost to you (read about affiliate links here).
- Take the pyrography courses that I've poured my heart and soul into helping you burn like a boss!
- Join in the woodburning retreats - that's really like giving back to yourself, actually. ;)
Thanks for helping me keep creating free, delightful, and helpful woodburning content for YOU and pyros like you.