Wood Burning Pet Portraits in 8 Steps
Let’s talk wood burning pet portraits. Pet portraits – especially dog and cat portraits – are some of the hottest selling items on the art market today.
They're all over Etsy, Instagram, Facebook - and if you want in on this happy nonsense, you're in the right place.
I'm giving you a crash course on how YOU can get started wood burning portraits for pets.
⇣ Pin This ⇣

Read on... or if you'd rather watch,
⇣ here's a video for you! ⇣
Want To Learn How To Wood Burn?


Courses are now available on the Burn Savvy YouTube channel membership!
Go see which level suits YOU best. ⇣
8 Steps to Wood Burning Pet Portraits
1. Start with a good photo of the pet
In order to do quality wood burning pet portraits, you need to start with a good picture.
Ask your customer for a high quality, clear photograph of their pet. You're going to need it for reference.
2. Choose what kind of wood that you want
You can choose live edge wood (wood with the bark on it) or wood with a clean cut or beveled edge.
Are you burning a keychain or an ornament sized portrait? Or are you wood burning pet portraits large enough to fill the wall above your customer's favorite chair?
If you don’t know what kind of wood is good for pyrography in general, you should read this lovely little article on the best wood for woodburning.
3. Prepare the photo
Take your photo and turn it black and white or sepia tone.
Print a few of them.
I like to have reference photos that have higher and lower contrast to help me get those midtones, lighter and darker values just right.
I also have one that I trace onto the wood. This one needs to be sized to fit the wood.
I like to add a little “white space” (or negative space) border around my photos. So on small pieces of wood, I size the picture to be a half inch to a full inch smaller than the size of the wood. And on larger pieces I will leave 1 to 4 inches of negative space.
For example, if I have a 2 inch ornament, I will size my picture to 1.5 inches.
If I am wood burning pet portraits that are 24 inch square wood panel or wood canvas, I will make my photo 20 inches.
Print those all off and keep them handy.
4. Prepare your wood for wood burning
Next you want to sand the wood smooth.
I like to finish with a 220 grit. Rougher than that isn’t very smooth to burn. Finer than that, and sealants and finishes have a hard time adhering. Most sealants say to sand the wood to a 220 grit so it has something to grip.
Hard core rule? Of course not.
Just a great rule of thumb.
Remember to sand your wood in the direction of the grain!
When you have a slab, the grain usually goes up and down, side to side, or at a diagonal.
When you have a wood cookie (a.k.a. wood slice) sand in circles, small in the middle where there are smaller circles in the grain, and larger circles toward the edge where there are larger circles of grain.
Here’s a more detailed video on how I prep my wood for woodburning.
5. Transfer your photo
First, you need to cut out your printed photo so it doesn’t flop over the edges of the wood.
Second, leave some white space when you cut it so you have room to tape the pattern down without putting tape OVER the part you want to transfer and still lift the pattern without the pet portrait moving.
It’s just easier to transfer it when you don’t have to press through tape… and if you’re using the heat method, you certainly don’t want to do THAT over the tape.
Then you are ready to trace the pattern onto the wood.
Some people use chemicals to transfer their patterns.
I really, Really, REALLY recommend that you DON’T.
Here are my 3 favorite ways to transfer your pattern for woodburning that don’t involve harmful chemicals – Pencil method, Carbon/Graphite method, and the Heat method. (I prefer the Carbon/Graphite method).
For more realistic pet portraits, it’s a bit harder to trace the pattern because you aren’t following hard lines.
Personally, I like to trace in the dark lines, then lightly trace in the midtone lines.
I leave the white parts alone.
6. Burn that baby!
Start by burning in the dark parts and fill those in first. Then blend that out and add details.
Remember to use those reference photos to help you when wood burning pet portraits!
Now wait. I must say this…
Shading. Is. Harrrrrrrd.
It takes a lot of practice, but you can totally do it!
And as always, I’ve got a few resources for you.
online resources
First, if you prefer the online route and you’re ready to take your
woodburning skills to the next level, you should definitely sign up for
my pyrography courses.
We even help you see what level you are at and choose the right course for your level.
So feel free to go check that out.
In Person Resources
Second,
if you prefer the in-person route, I host pyrography retreats where you
can learn pyrography techniques, try new mediums, and explore
everything pyrography in the company of your fellow pyros.
Of course if you want to learn shading, I will also teach that to you at the retreats.
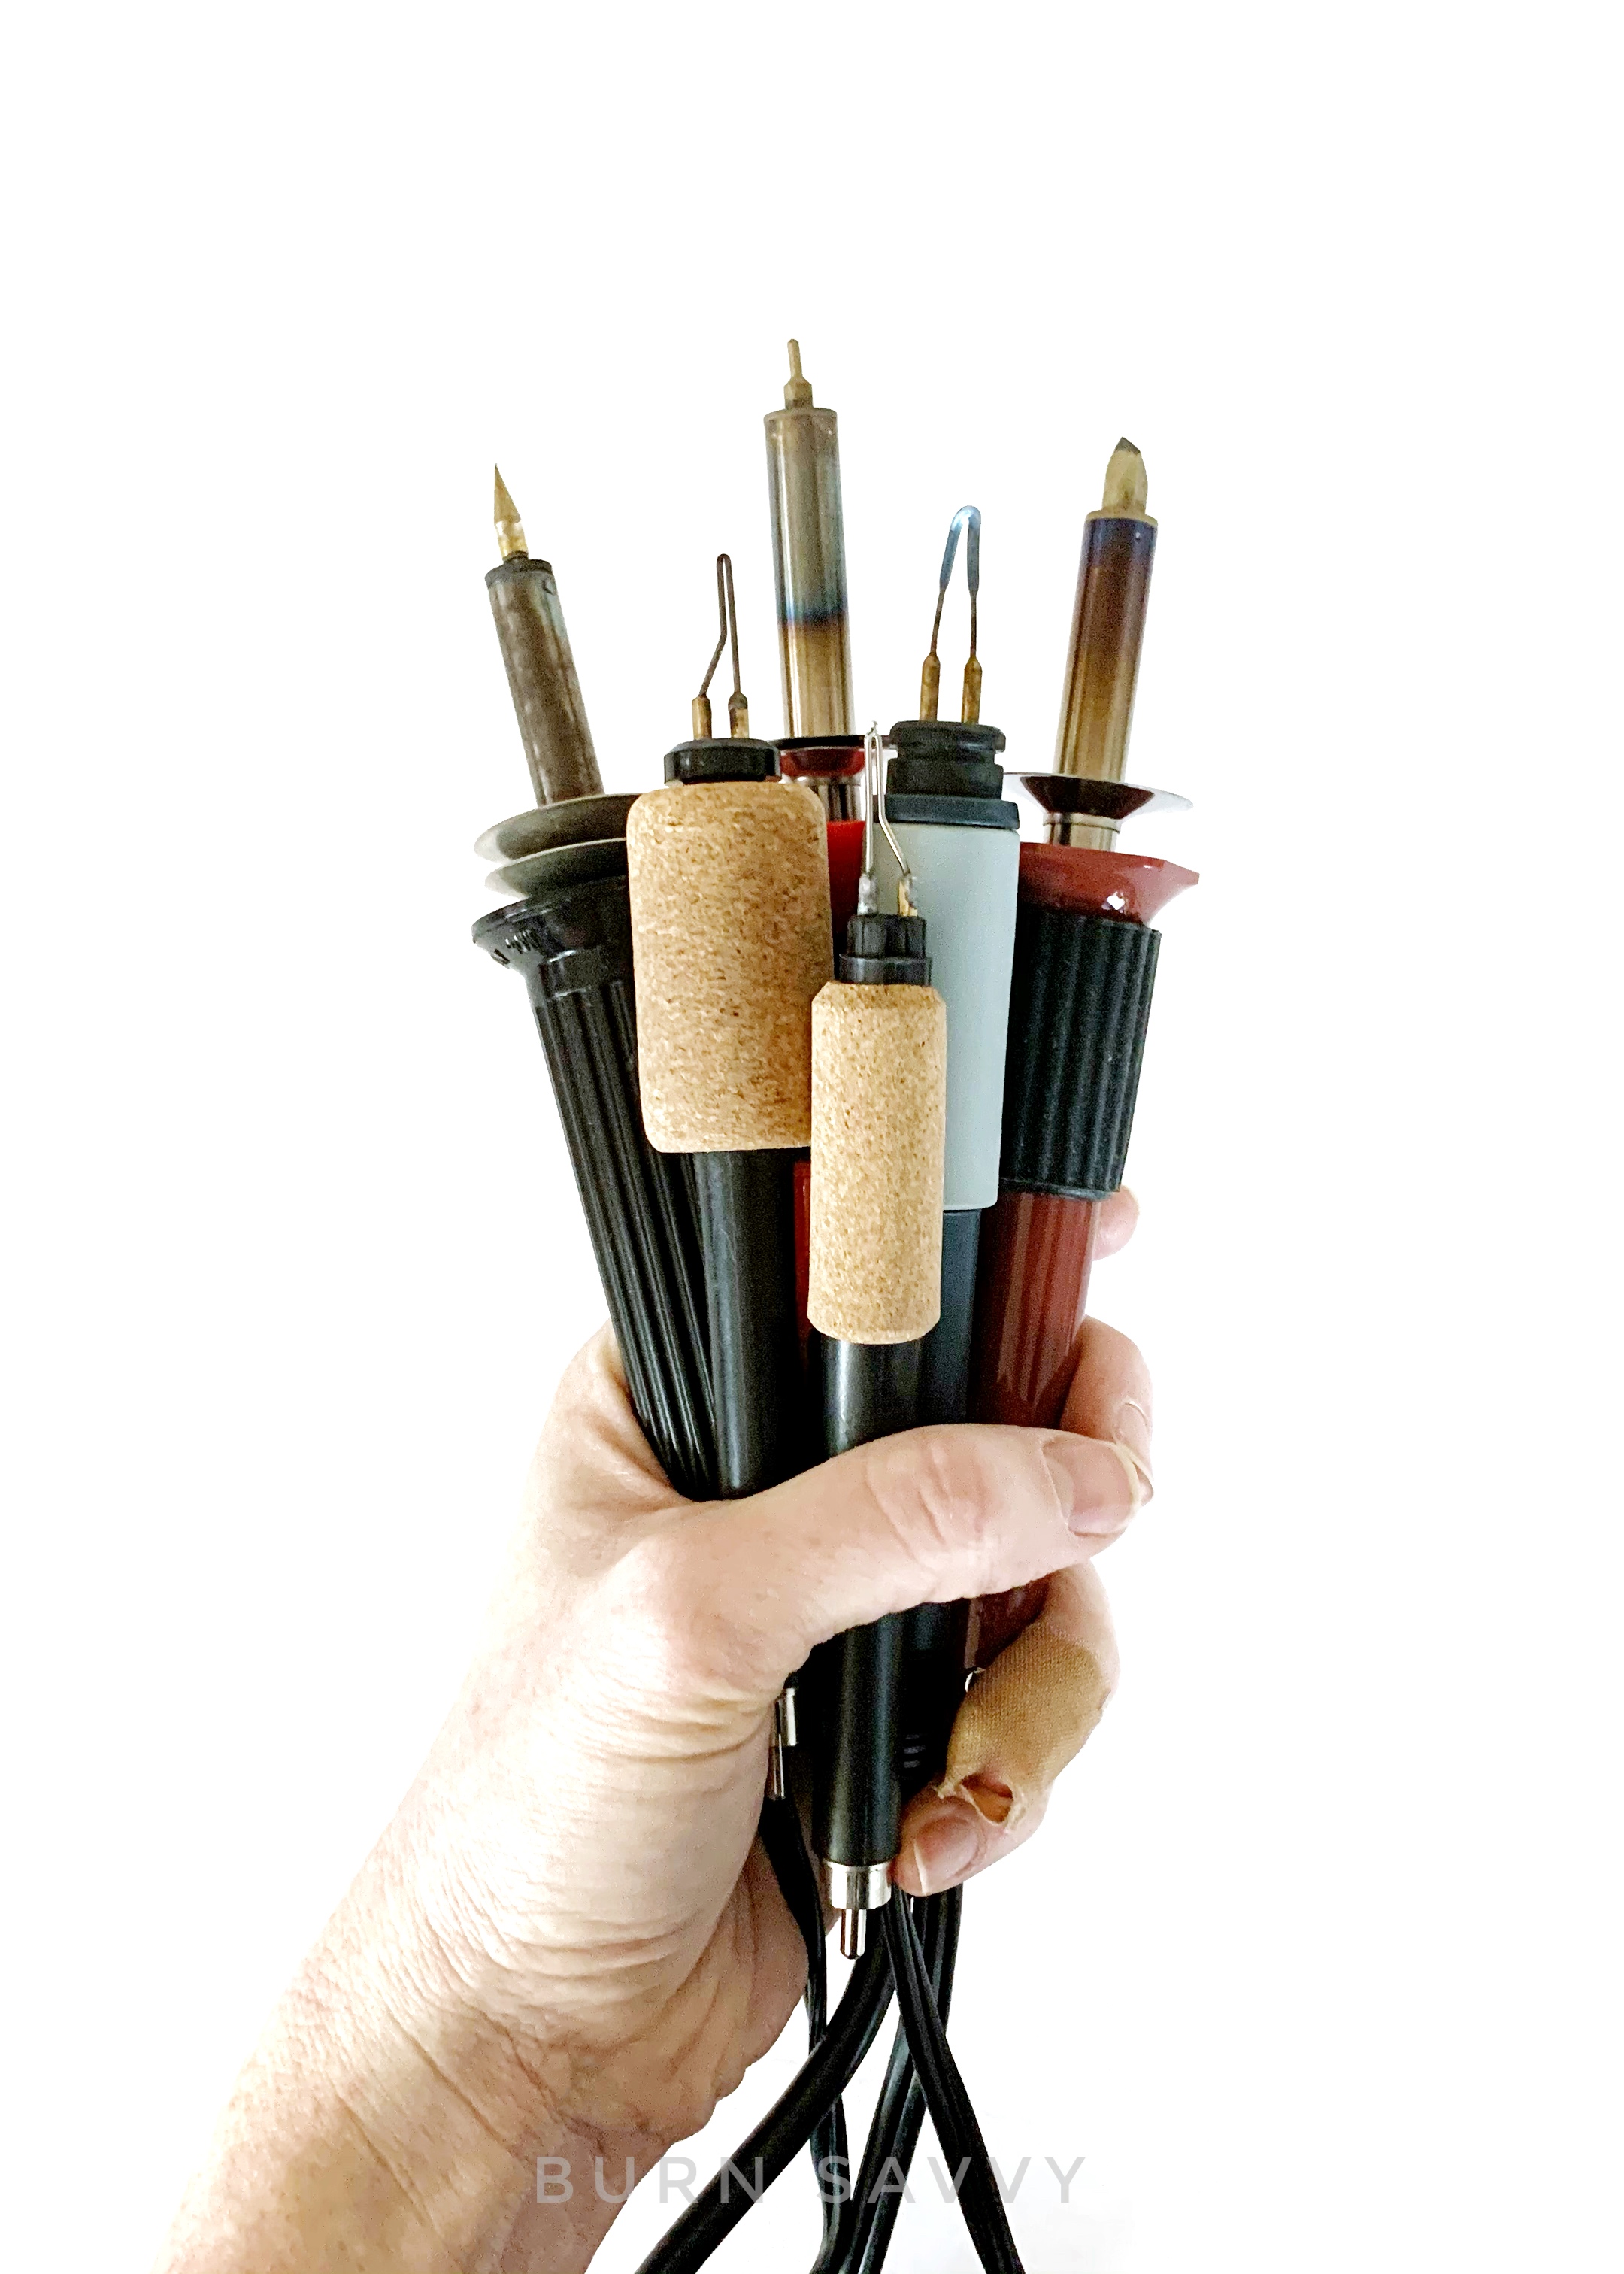
You can also try out all the most popular pyrography machines for yourself!
Which leads me to my 3rd resource…
Tool Resources
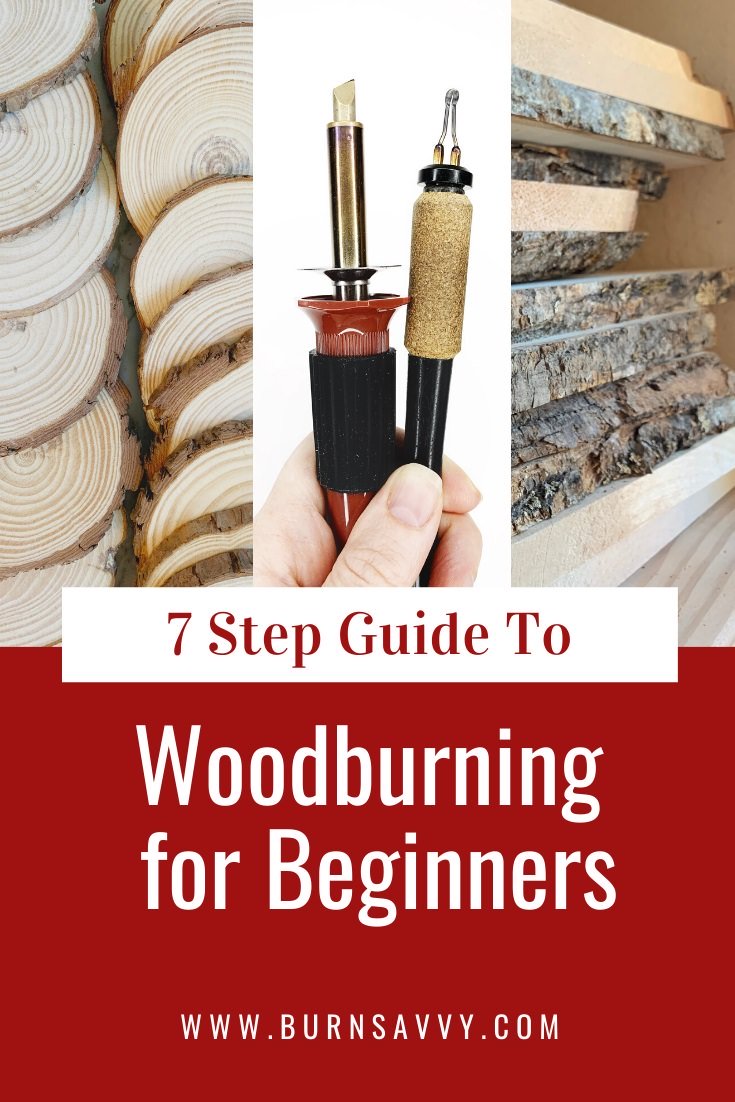
Third, consider using a wire nib tool.
I find that using a professional wire nib tool and their specialty nibs helps me burn faster and with more precision.
You don’t have to use a wire nib burner if you don’t want to.
If
you have a solid point burner, you can still do a beautiful job. It’s
just going to take a lot more time and skill to get it to look
realistic.
So if you’d like to bypass that, I can certainly
recommend my favorite wire nib burner right here – pssst… use my affiliate discount
code SAVVY to save yourself a bit of cash while you’re at it.
When wood burning pet portraits, after I burn the front, I burn the back.
I
typically like to put the pet’s details – like nicknames, their birth
and death date, a short inscription, that sort of thing.
Sometimes I also add my signature there. With bigger burns, I add my signature small in the front.
Just make sure to get ALL the burning – front AND back – done before you add a sealant.
If you seal the front and THEN burn the back, you risk bubbling the sealant in the front.
That is a royal pain to fix.
Believe me. I know.
7. Add hanging hardware and seal it
I like to use polycrylic, but there are a bunch of awesome finishes for pyrography that you can use.
Do you add hanging hardware first and then seal it, or seal it first and then add hanging hardware?
Great question.
If the hardware helps me seal it faster, I add hardware first.
Like the ornament in the video at the top of this page – that hardware helps me seal the front, back, and sides all at the same time, and I can hang it to dry. Super convenient!
But if I have a heavy piece, I will seal the back first. When it’s cured, I add the hanging hardware, turn it over and seal the front. That way the hanging hardware doesn’t interfere with my sealant.
8. Package and ship the pet portrait
Make sure it is totally cured before you package it up.
Totally. Cured.
There’s nothing worse than tissue paper or bubble wrap getting stuck in the sealant!
I personally also like to add a Certificate of Authenticity and care instructions too. Here I fill in all the details of the wood burning pet portraits, which gives the customer an added sense of the quality and attention you give to your pieces. It also sets you up as more of a professional woodburning artist.
When I’m packaging up small pieces, I like to use a jewelry box too which adds extra protection around the piece.
And there you have it - wood burning pet portraits in 8 steps!
If this was helpful, consider signing up for my email list to get weekly (ish) notifications of new articles, videos, pyrography events and all that awesomeness.
Later Pyro!
Related to Wood Burning Pet Portraits

Check out these 7 steps of woodburning that nobody told me about.
Top 10 list of the most popular wood for pyrography
How to choose a woodburning tool
Want to seriously up your pyrography game?
I'm spilling my pyrography secrets. Don't miss out on...
- Your FREE guide to woodburning tips & their uses
- Helpful tips, hacks & articles
- First dibs on upcoming courses
- Notice of retreats, challenges, and other pyrography events
- and so much more coming!
So go ahead. Subscribe. Consume. Enjoy.
You deserve it.
⇣ Enjoying your FREE pyrography tips & techinques? ⇣
I am delighted you find them helpful!
If you want some easy ways to give back, here are some ideas that also help YOU level up YOUR wood burning game...
- Watch my YouTube videos (that's totally FREE).
- Buy your woodburning products through my affiliate links which throw me a dime or two at zero extra cost to you (read about affiliate links here).
- Take the pyrography courses that I've poured my heart and soul into helping you burn like a boss!
- Join in the woodburning retreats - that's really like giving back to yourself, actually. ;)
Thanks for helping me keep creating free, delightful, and helpful woodburning content for YOU and pyros like you.