SHOPPING GUIDE:
Wood Burning Pen Tips for Wire Nib Burners
My students often ask about wood burning pen tips and their uses. It usually goes something like, “Hey Jannie, what nib should I use for this project?”
I was asked again in the Q&A that I hosted recently for the Learn & Burn [LAB] – my course on woodburning for beginners.
My student wants those clean lines and she wants to sign up for my pyrography shading course. So she asked for some advice on what woodburning nibs to buy.
I could say, “Just buy x, y, and z…” but I feel I would be doing her – and all my students – a great disservice.
I don’t know what you are looking for without knowing...
What project are you trying to finish? What style of artwork or crafting are you going for? How big or small is the space you are burning? How hot (or not) do you like to burn?
Even your workspace setup plays a part!
The best advice I can give is to know what you are looking for in a nib. Then when you see it, you’ll know that THIS is the nib you’ve been looking for.
That’s empowerment, right?
And that’s my goal – to empower you to be the best pyrography artist that you want to be.
Are you ready to learn how to go nib shopping?
Here’s my advice on wood burning pen tips and their uses.

Want To Learn How To Wood Burn?


Courses are now available on the Burn Savvy YouTube channel membership!
Go see which level suits YOU best. ⇣
Your Wood Burning Pen Tips Shopping Guide
1. What Uses Are You Looking For?
The style of artwork or crafting that you’re going for makes a difference in the wood burning pen tips that you choose.
I
believe you can do about any technique or achieve any style with about
any nib. But of course, if you have something specific in mind, a
specialty nib will definitely make things easier.
CURVED LINES
Sharp nibs have a hard time making curved lines.
But
if the nib is rounded – like the wire hasn’t been flattened out or the
tip of the nib is rounded (like a ball point) – that nib will do much
better on those curves.
Examples: Ball point nibs, writing point nibs

STRAIGHT LINES
Wood burning pen tips with long or sharp edges are excellent for long,
straight lines. The sharper the nib, the thinner the line.
Just remember that thin lines are harder to control than thicker lines.
Examples: Skew, knife points, flat shaders with a sharp edge
FINE DETAILS
Choosing wood burning pen tips for fine details… well, that can get complicated.
Basically
you need to determine if you are doing fine straight lines, fine
curves, or fine shading. In general, whatever nib would work for regular
straight lines, curves, or shading, try to find a nib that is simply
smaller for that purpose.
Examples: Needle point nib, small ball point nib, small flat shaders
Fine
details are also very hard to control – so make sure you’ve honed your
technique before you delve too deep into these fine detail wood burning
pen tips.
WOODBURNING SHADING
In general, you want a large surface area for woodburning shading.
You can use the basic rounded wire nibs, but I prefer spoon shaders or flat shaders when I’m going for a nice gradient.
Remember, if you’re shading in a large area, then a large shader will serve you better.
Examples: Spoon shader, flat rounded shader
2. What Is Your Project or Workspace Set Up?
|
It makes a difference whether you’re working on a curved project (concave or convex) or a flat project. |
 |
STRAIGHT VS BENT
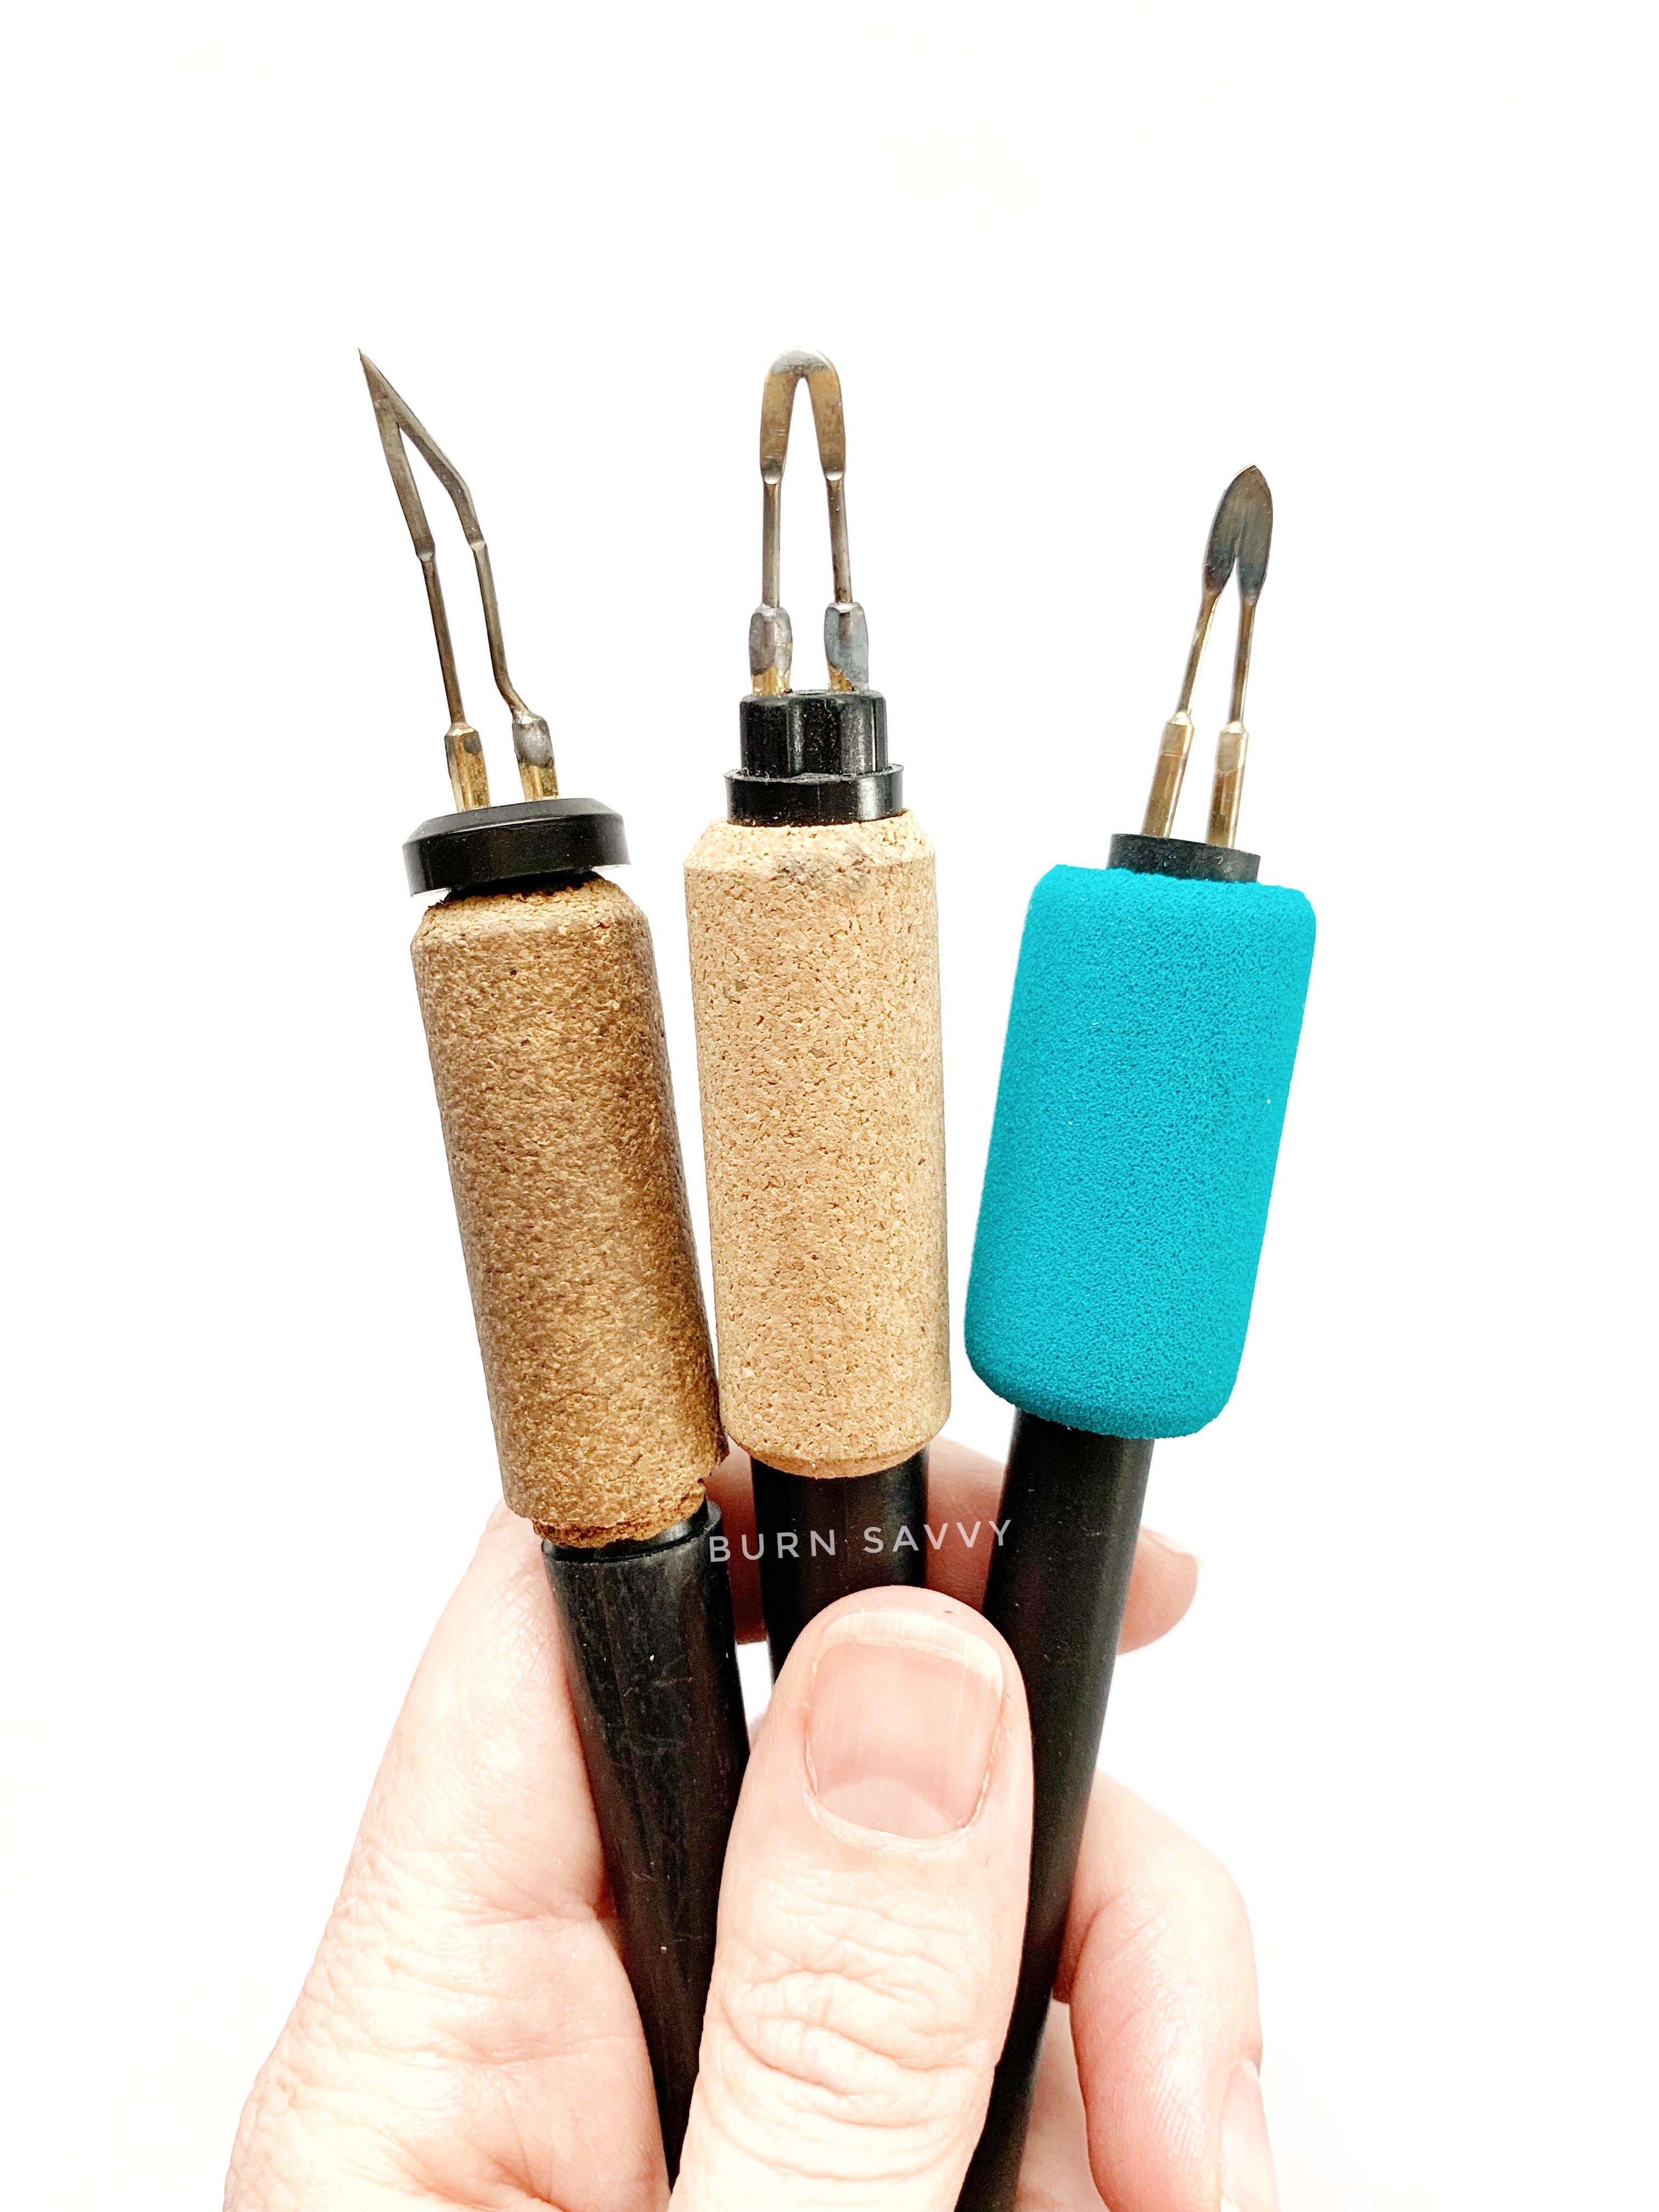
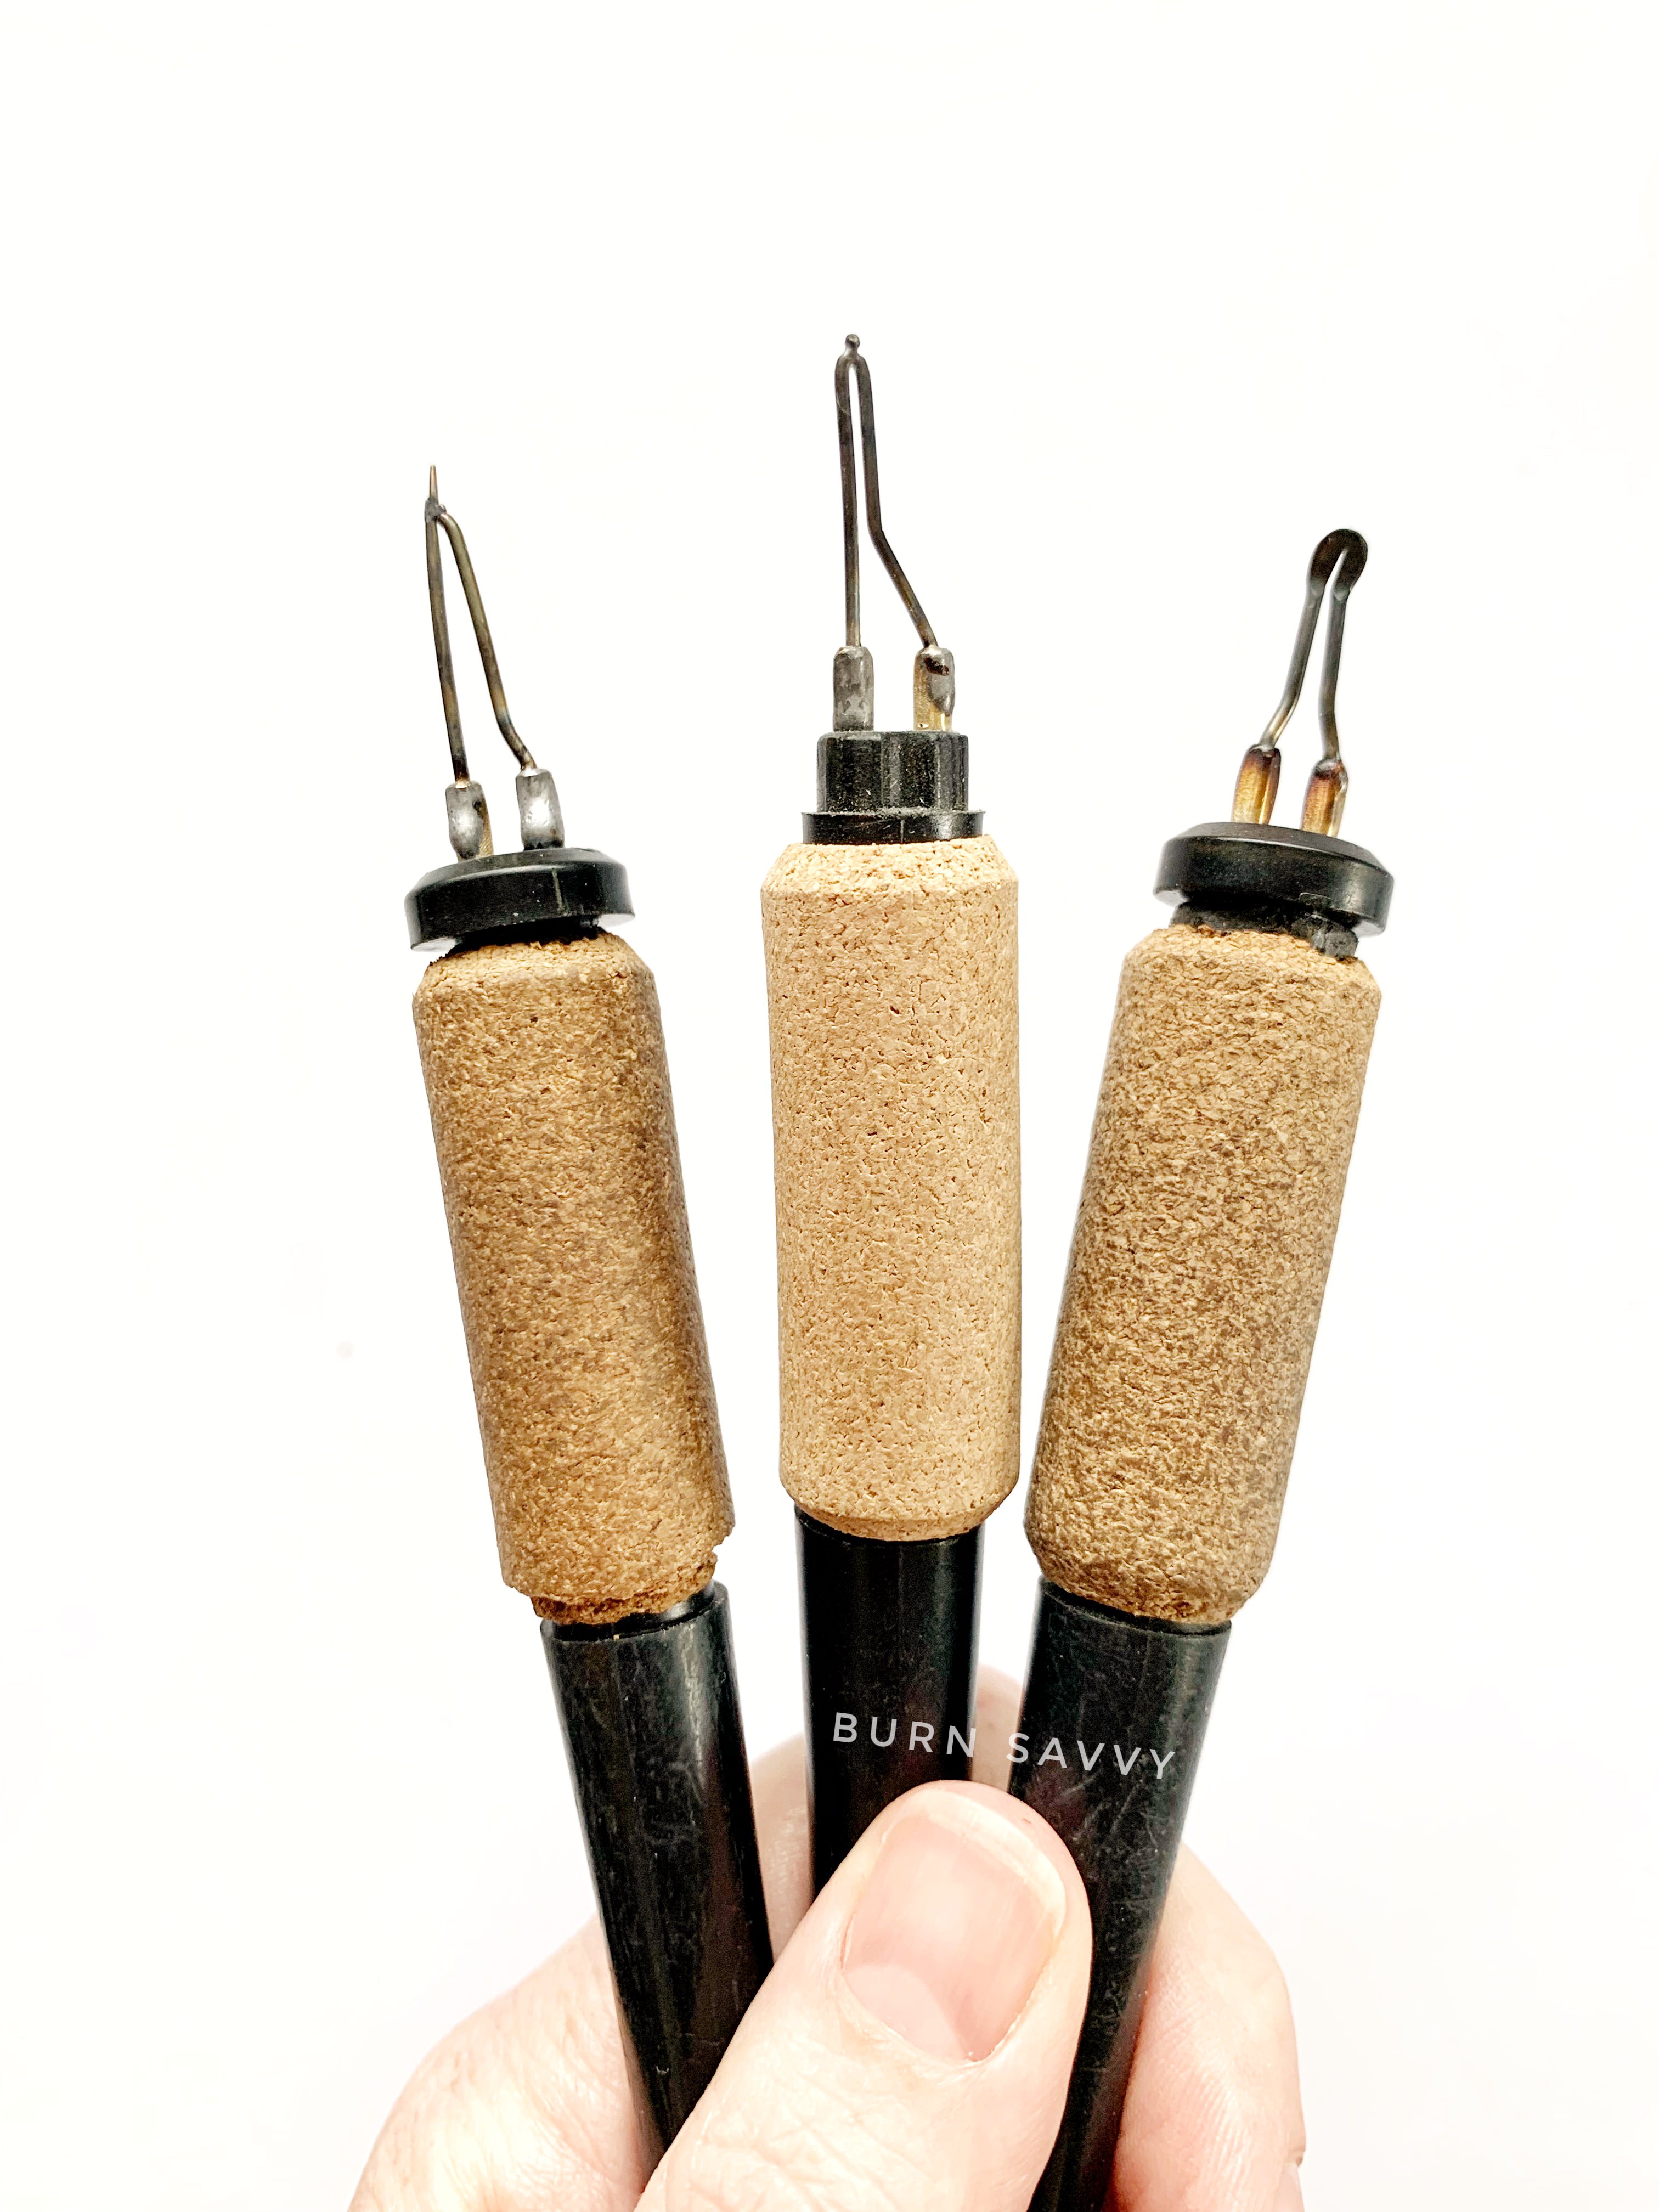
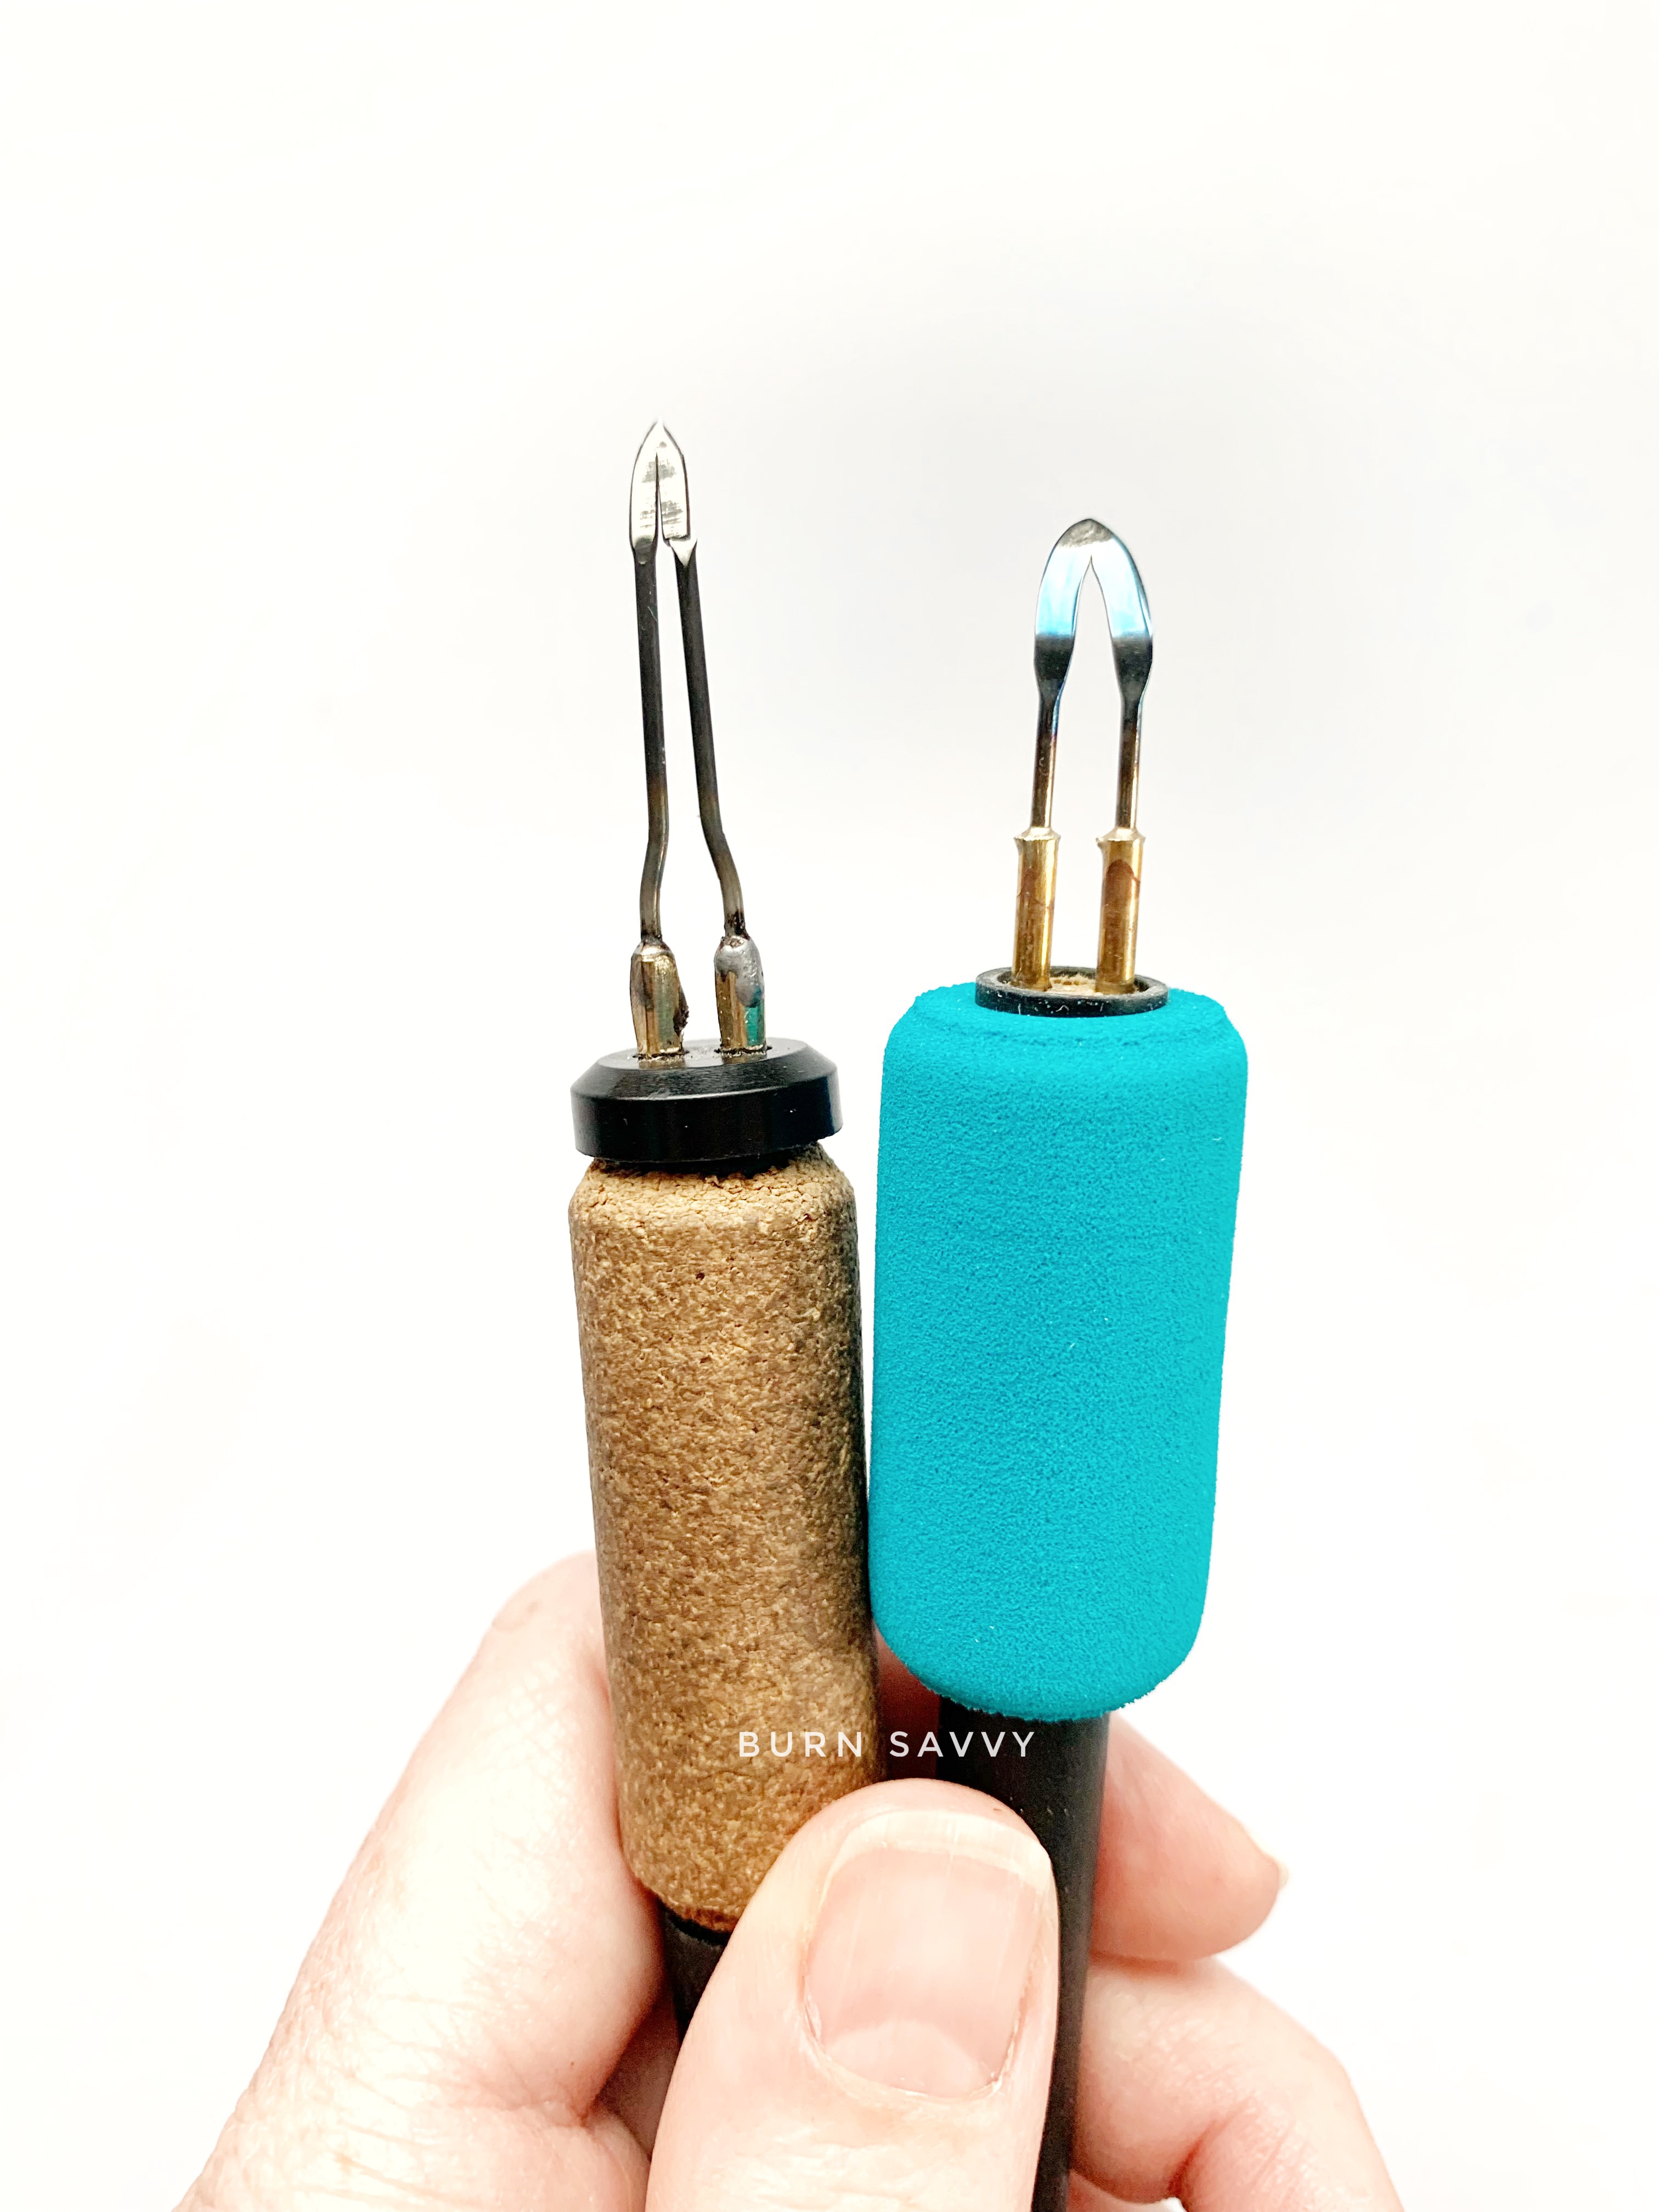
You can order some wood burning pen tips as straight or bent at a 45 degree angle or a 90 degree angle.
If my project is curved, I prefer a straight nib.
If my project is flat, I prefer a bent nib – usually a 45 degree bend.
If I’m working at an angled table, I generally prefer a MORE bent nib - like the 90 degree bend.
The next question I ALWAYS get when talking about bent nibs is, “Can I just bend my own nibs?”
Yes. But it’s risky.
And if you don’t have experience working with metal (the annealing process, hardening and softening of the metal, etc.) then I reeeeeaaaally don’t recommend it.
I had a straight nib that I couldn’t use very well.
So I tried to bend it.
But I did it while it was cold. I wasn’t going to do it while it was plugged in and hot, and it cools off too fast when it’s turned off.
So it was cold.
And it snapped.
$15 bucks down the drain [sad face].
Moral of the story – if you want it bent, buy it bent. That’s my recommendation.
3. What Are Your Preferences?
There are a few more factors to consider when buying wood burning pen tips. These choices are based on how you like to burn and how fast you like to work.
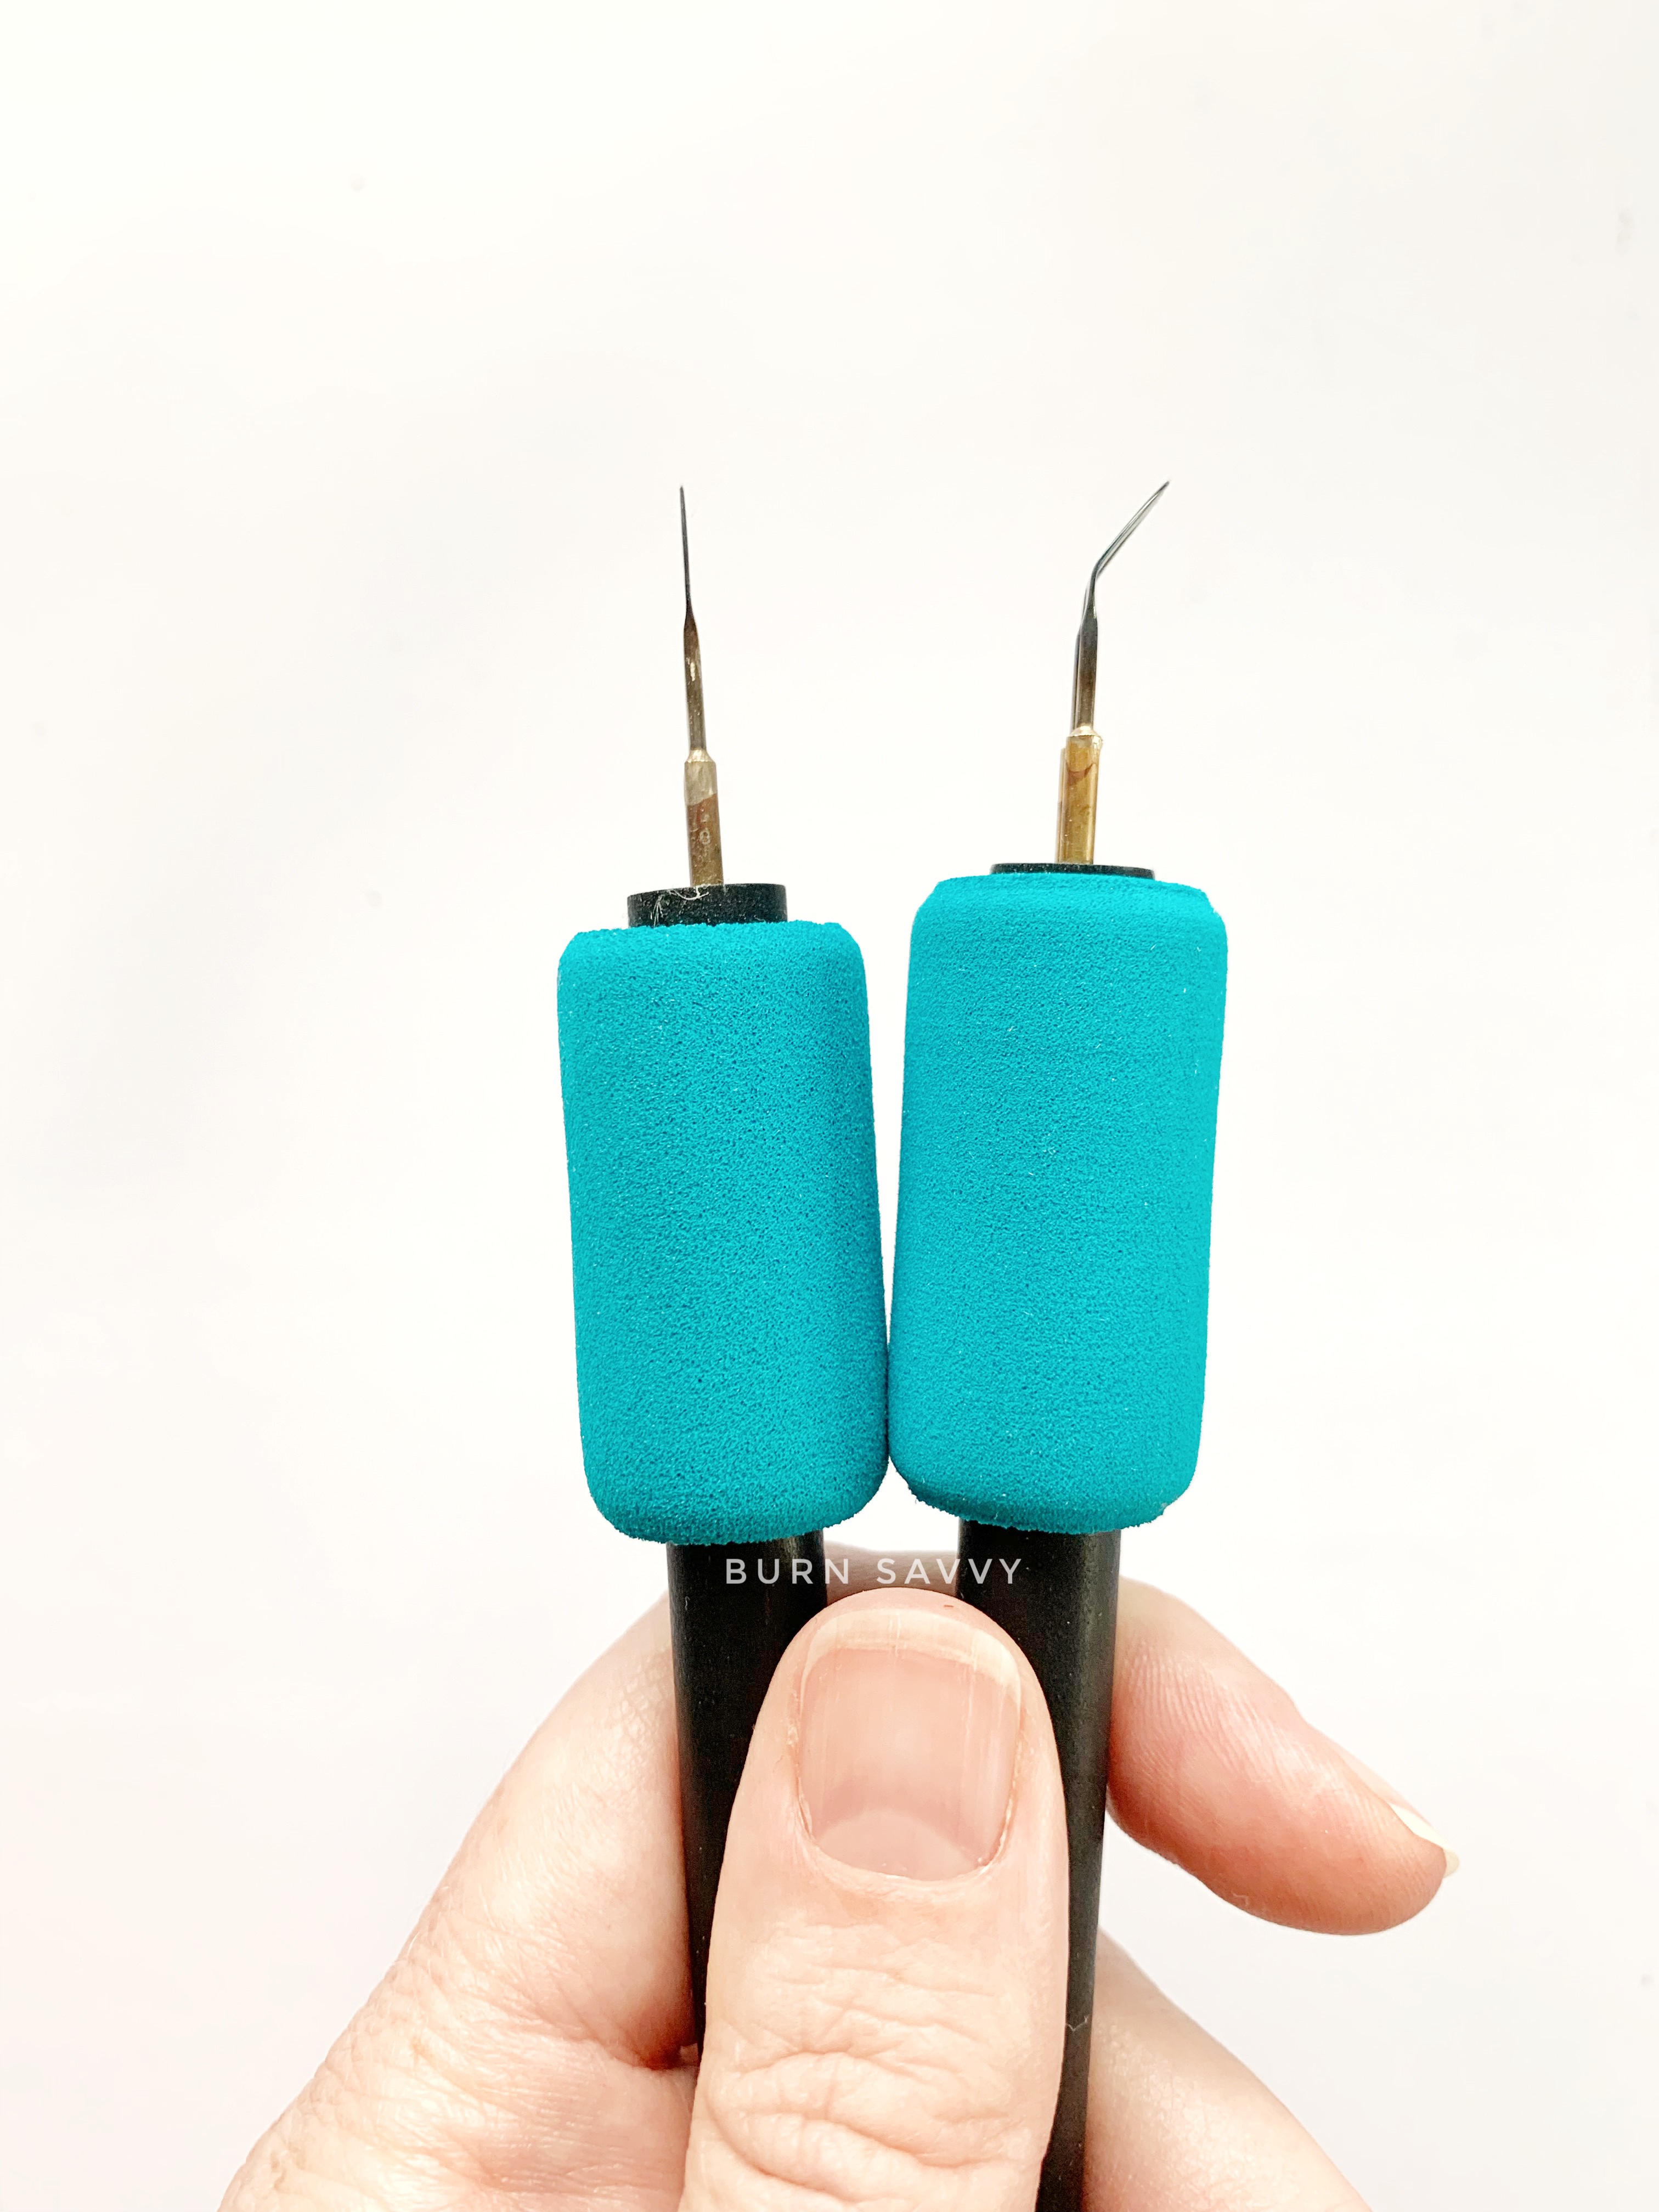
POLISHED VS UNPOLISHED
You can spend an extra couple bucks getting them polished. But is it worth it?
In
my experience, a polished nib moves smoothly across the wood.
Unpolished nibs tend to drag – which slows me down and makes my burns
more choppy.
You can polish them yourself, but it is time consuming and you still need the polishing tools and supplies.
I’ve
done it, but in the end I’ve decided it’s worth it to just let the pros
do it. Saves me the time, the effort, plus the money and the storage
space I would need to get the polishing supplies.
I’m a big DIYer… but this one isn’t worth it to me.
HEAVY DUTY WIRE VS STANDARD WIRE
Don’t get this confused with the power cord.
This is talking about the kind of wire that your nib is made of.
A standard wire tends to be thinner – which is awesome for those finer details. They heat up faster too.
But
they are more malleable and susceptible to breaking. If you burn at
higher heats for any stretch of time, they are more likely to bend and
over time they become brittle faster than heavy duty wire nibs.
Heavy duty wire nibs tend to be thicker and heat up slower (but only by a hair), but they hold up to the heat better.
So
if you prefer high heats, or burning for long periods at a time, or
BOTH, I definitely suggest buying a heavy duty wire if you can.
You can also get heavy duty pens with some brands. Same thing – they hold up to higher heats and longer burn times better.
*NOTE:
Most manufacturers tell you not to burn at high heats for very long
simply BECAUSE it is hard on the tool. It’s also hard on your fingers if
they get hot while you burn. If you want to burn at high heats, it’s
best to do short bursts and take plenty of breaks.
I second that advice.
Not that I’m great at taking that advice. ;)
Heavy Duty Power Cords VS Standard Power Cords
When it comes to power cords (the ones that run from the machine to the
pen), the heavy duty power cord delivers more heat to the pen than a
standard cord does. But the standard cord is generally a smidgen more
flexible and easier to use.
Those are the biggest differences there.
REPLACEABLE TIPS (RT) VS FIXED TIPS (FT)Sometimes you’ll see that you can buy a fixed tip pen or a
replaceable tip with a separate pen. Replaceable tips tend to be either
wires that you hold onto the pen with screws – like you see on
Burnmasters and Tekchic brands – or a bushing that you can plug into the
pen – like you see on Colwood nibs.
|
 |
There are downsides though.
With the screw on nibs, those screws have a nasty habit of loosening as you burn. That comes with it’s own variety of problems.
With the bushing nibs that you just plug in – they have an extra heat “leak”.
The pens will “leak” heat (meaning they get hot) wherever there is a connection.
So
if you plug your pen into the wire, they tend to get hot where they
plug in. Replaceable tips also have a connection around your fingers
where the nib plugs in… which means they tend to cook your fingers more
than a fixed tip pen.
But fixed tip pens need larger storage and they cost more.
That bugs.
So
for me, I prefer to get fixed tips for the nibs that I use most (I like
my fingers NOT cooked, thank you very much). Then I buy replaceable
tips for everything else (easier on my wallet and storage space).
WHICH BRAND TO CHOOSE?
Well, I would focus more on a few other factors when choosing the brand of burner.
As for the brand of pens or wood burning pen tips to get, they're interchangeable. Get one that fits your burner.
That leads us to...
WHICH BRAND HAS THE MOST NIB OPTIONS?
That's a great question.
I know Razertip and Colwood have a truckload of nibs. Burnmaster kits also come with a bunch.
But this shouldn’t hold you back from buying your favorite burner.
Why?
My favorite brands have interchangeable pens and nibs!
Here are some examples:
Optima, Colwood, and Burnmaster have interchangeable wood burning pens!
Snag
an adapter and the Razertip pen will fit any of these machines too.
Snag the reverse adapter, and any of the above brands' wood burning pens will fit your Razertip.
So if you want a certain brand of burner, but you like the choices from a different brand's wood burning pen tips, you can totally have that!
Just make sure you buy one of the tools that can be interchangeable.
The End... Almost
There you have it! Your very own guide to wood burning pen tips and their uses.
Now if you want to see some wire nibs in action - and what I believe is their worst and best uses - check out these popular wood burning pen tips!
- Writing Nib
- Ball Point Nib
- Rounded Flat Shader
- Spoon Shader
- Rounded Skew
- Skew or Knife Point
- Spear or Spade
- Quill Tip or Small Shader
Want to seriously up your pyrography game?
I'm spilling my pyrography secrets. Don't miss out on...
- Your FREE guide to woodburning tips & their uses
- Helpful tips, hacks & articles
- First dibs on upcoming courses
- Notice of retreats, challenges, and other pyrography events
- and so much more coming!
So go ahead. Subscribe. Consume. Enjoy.
You deserve it.
⇣ Enjoying your FREE pyrography tips & techinques? ⇣
I am delighted you find them helpful!
If you want some easy ways to give back, here are some ideas that also help YOU level up YOUR wood burning game...
- Watch my YouTube videos (that's totally FREE).
- Buy your woodburning products through my affiliate links which throw me a dime or two at zero extra cost to you (read about affiliate links here).
- Take the pyrography courses that I've poured my heart and soul into helping you burn like a boss!
- Join in the woodburning retreats - that's really like giving back to yourself, actually. ;)
Thanks for helping me keep creating free, delightful, and helpful woodburning content for YOU and pyros like you.