Woodburning Patterns:
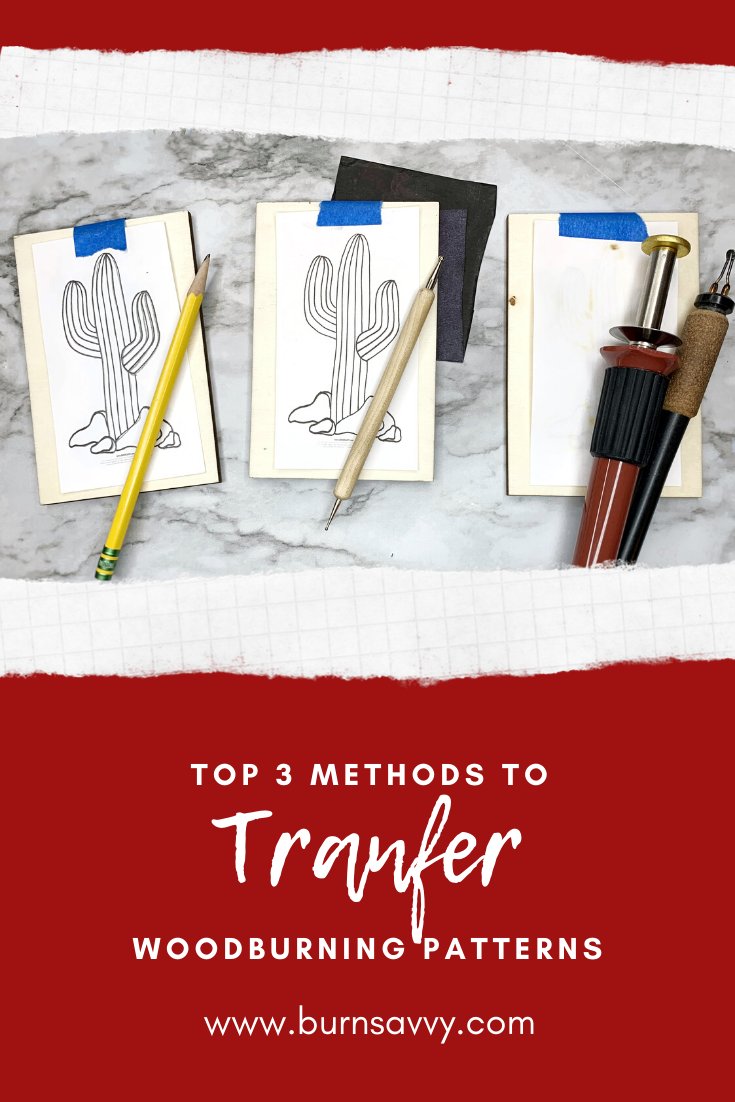
Top 3 Methods to Transfer Designs to Wood
You found some gorgeous woodburning patterns to use on your next project. Now it's time to transfer them!
There are about a bazillion ways to transfer patterns to wood. But not all of them are pyrography friendly.
Here are the top 3 best transferring techniques for woodburning artists.
Want To Learn How To Wood Burn?

Courses are now available on the Burn Savvy YouTube channel membership!
Go see which level suits YOU best. ⇣
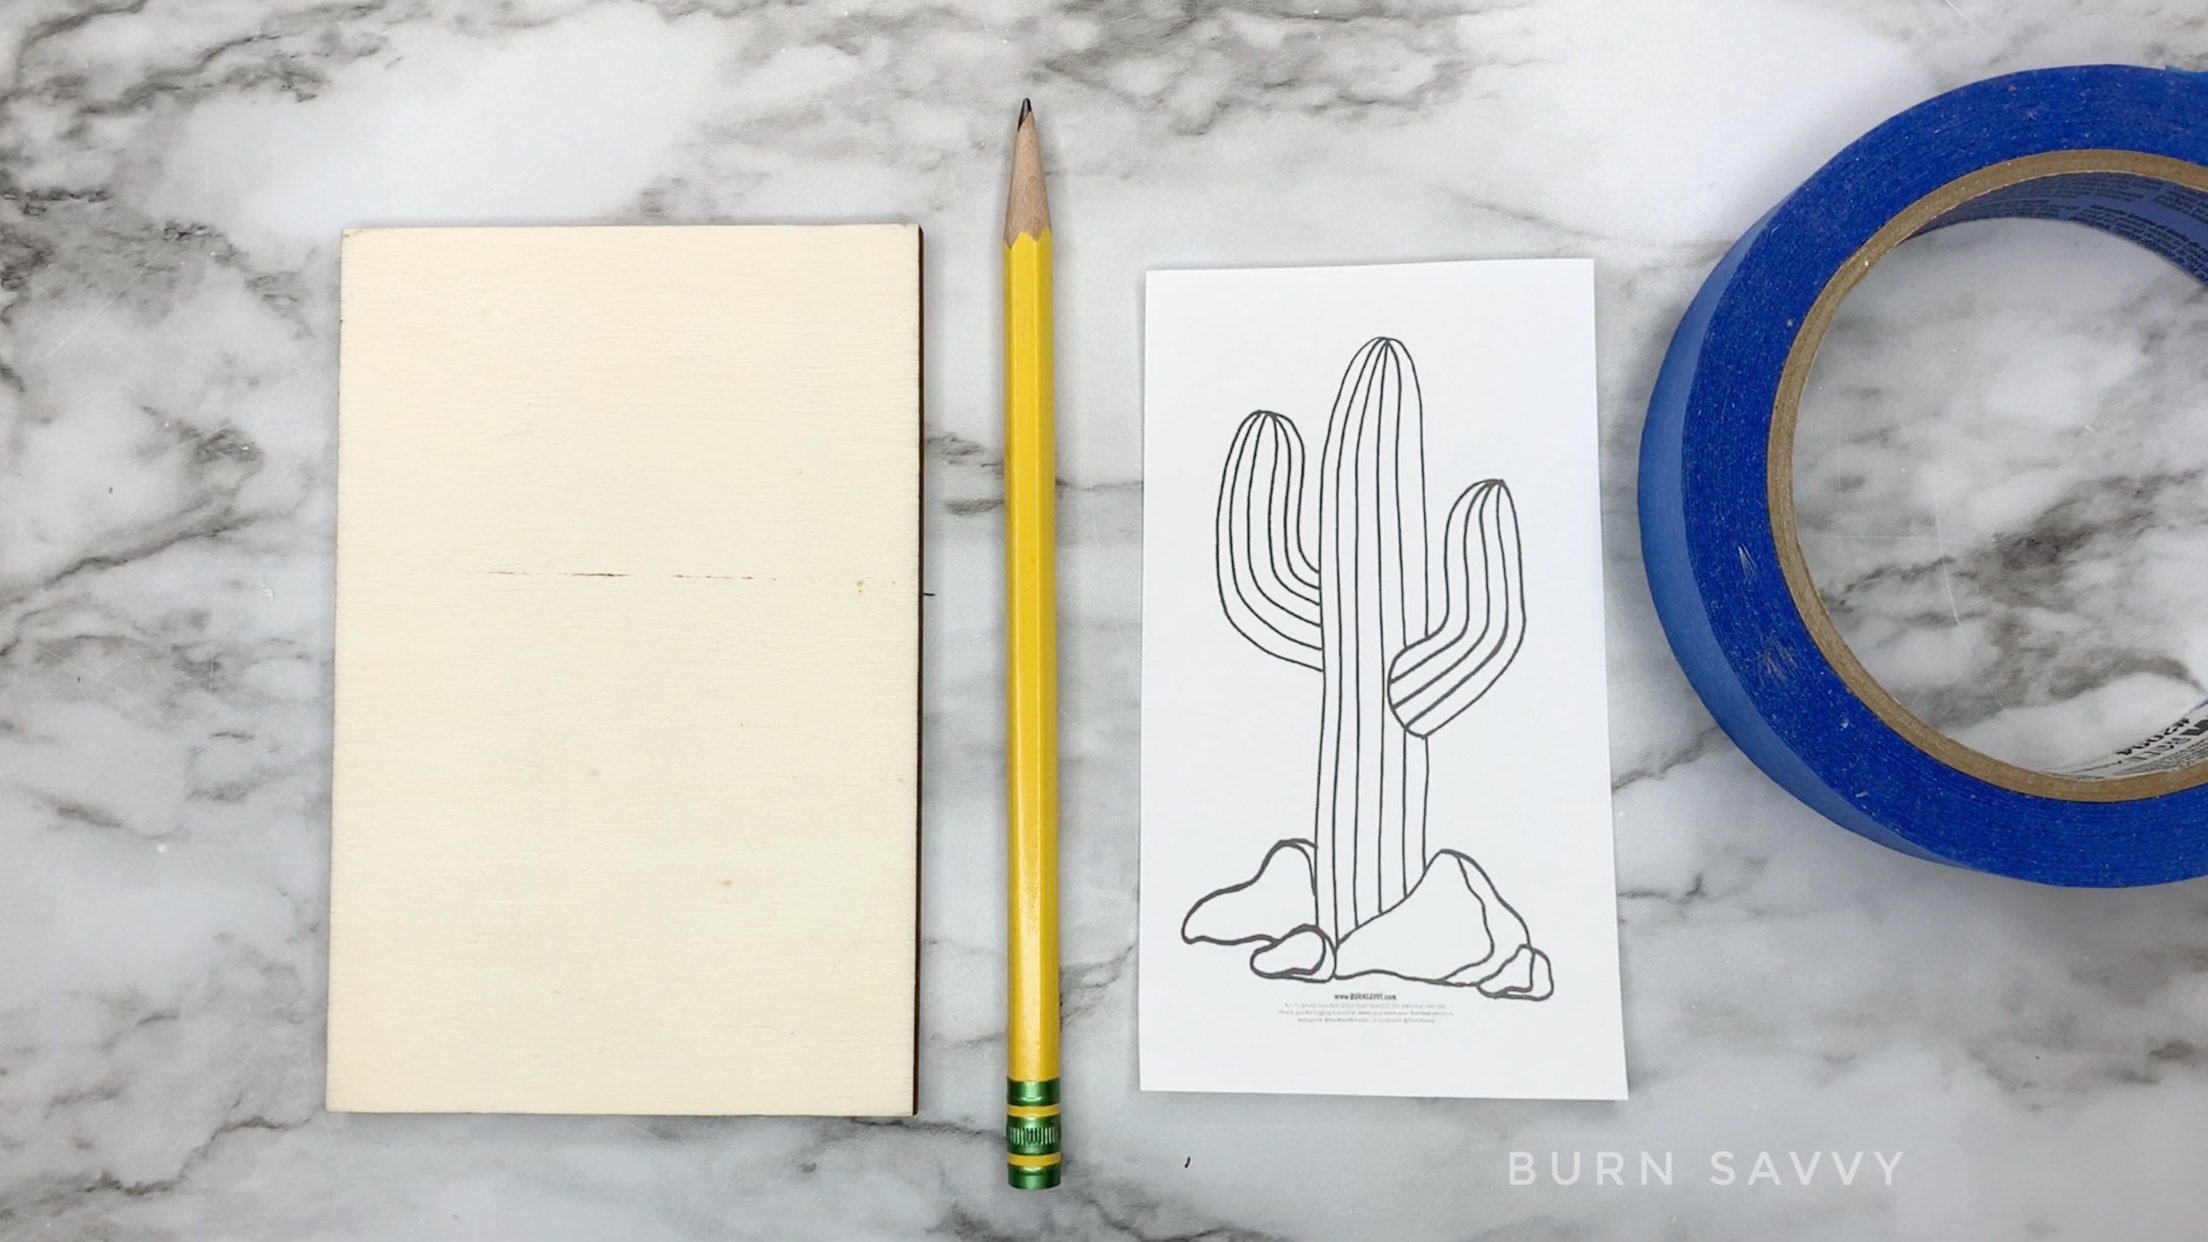
1. Pencil Method
Pros
- cheap
- uses the least amount of tools, likely ones you have on hand
Cons
- time consuming
- hard on your hands
- messy
- you can't use pattern again - which is a bummer if you want to make several pieces with the same design, say for a craft show or Christmas gifts
How to Transfer
Step 1: Size your pattern
Make your pattern about ½ inch to 1 inch smaller than the burnable area of your wood piece (don’t count the bark if you’re using a live edge piece).
How do you resize it? You can find a bazillion ways to resize an image on YouTube.
Personally, I just insert my
woodburning patterns into a Word document, double click it, and resize it right there in the options that pop up. Then it's all ready to print.
Step 2: Print your pattern
Any printer will do.
Step 3: Prep your printed pattern
The goal is to cover the backside of your pattern with the graphite from your pencil.
Lay your pencil sideways on the back of the pattern and scribble good and dark.
Step 4: Tape your pattern in place
Printed side up. Scribbled side down.
Step 5: Transfer your pattern
Using that same pencil, trace over the pattern. Lift your paper occasionally to make sure it is transferring to the wood the way you want it to.
Tip: Don’t press too hard or it will gouge the wood! If the pattern isn’t as dark as you want it to be, scribble more graphite onto the back side of the pattern and trace again.
2. Carbon or Graphite Paper Method
Pros
- budget friendly
- easy on your hands
- clean
- you can reuse the pattern - which is good if you want to make several pieces with the same design, say for a craft show or Christmas gifts
- you can also reuse the carbon/graphite paper for more patterns and projects
Cons
- takes tools or supplies you might not have on hand
- slightly harder to erase (press lightly and problem solved)
How to Transfer
Step 1: Size your pattern
Same as explained in the first method.
Step 2: Print your pattern
Any printer will do.
Step 3: Tape your pattern in place
Printed side up.
Step 4: Transfer your pattern
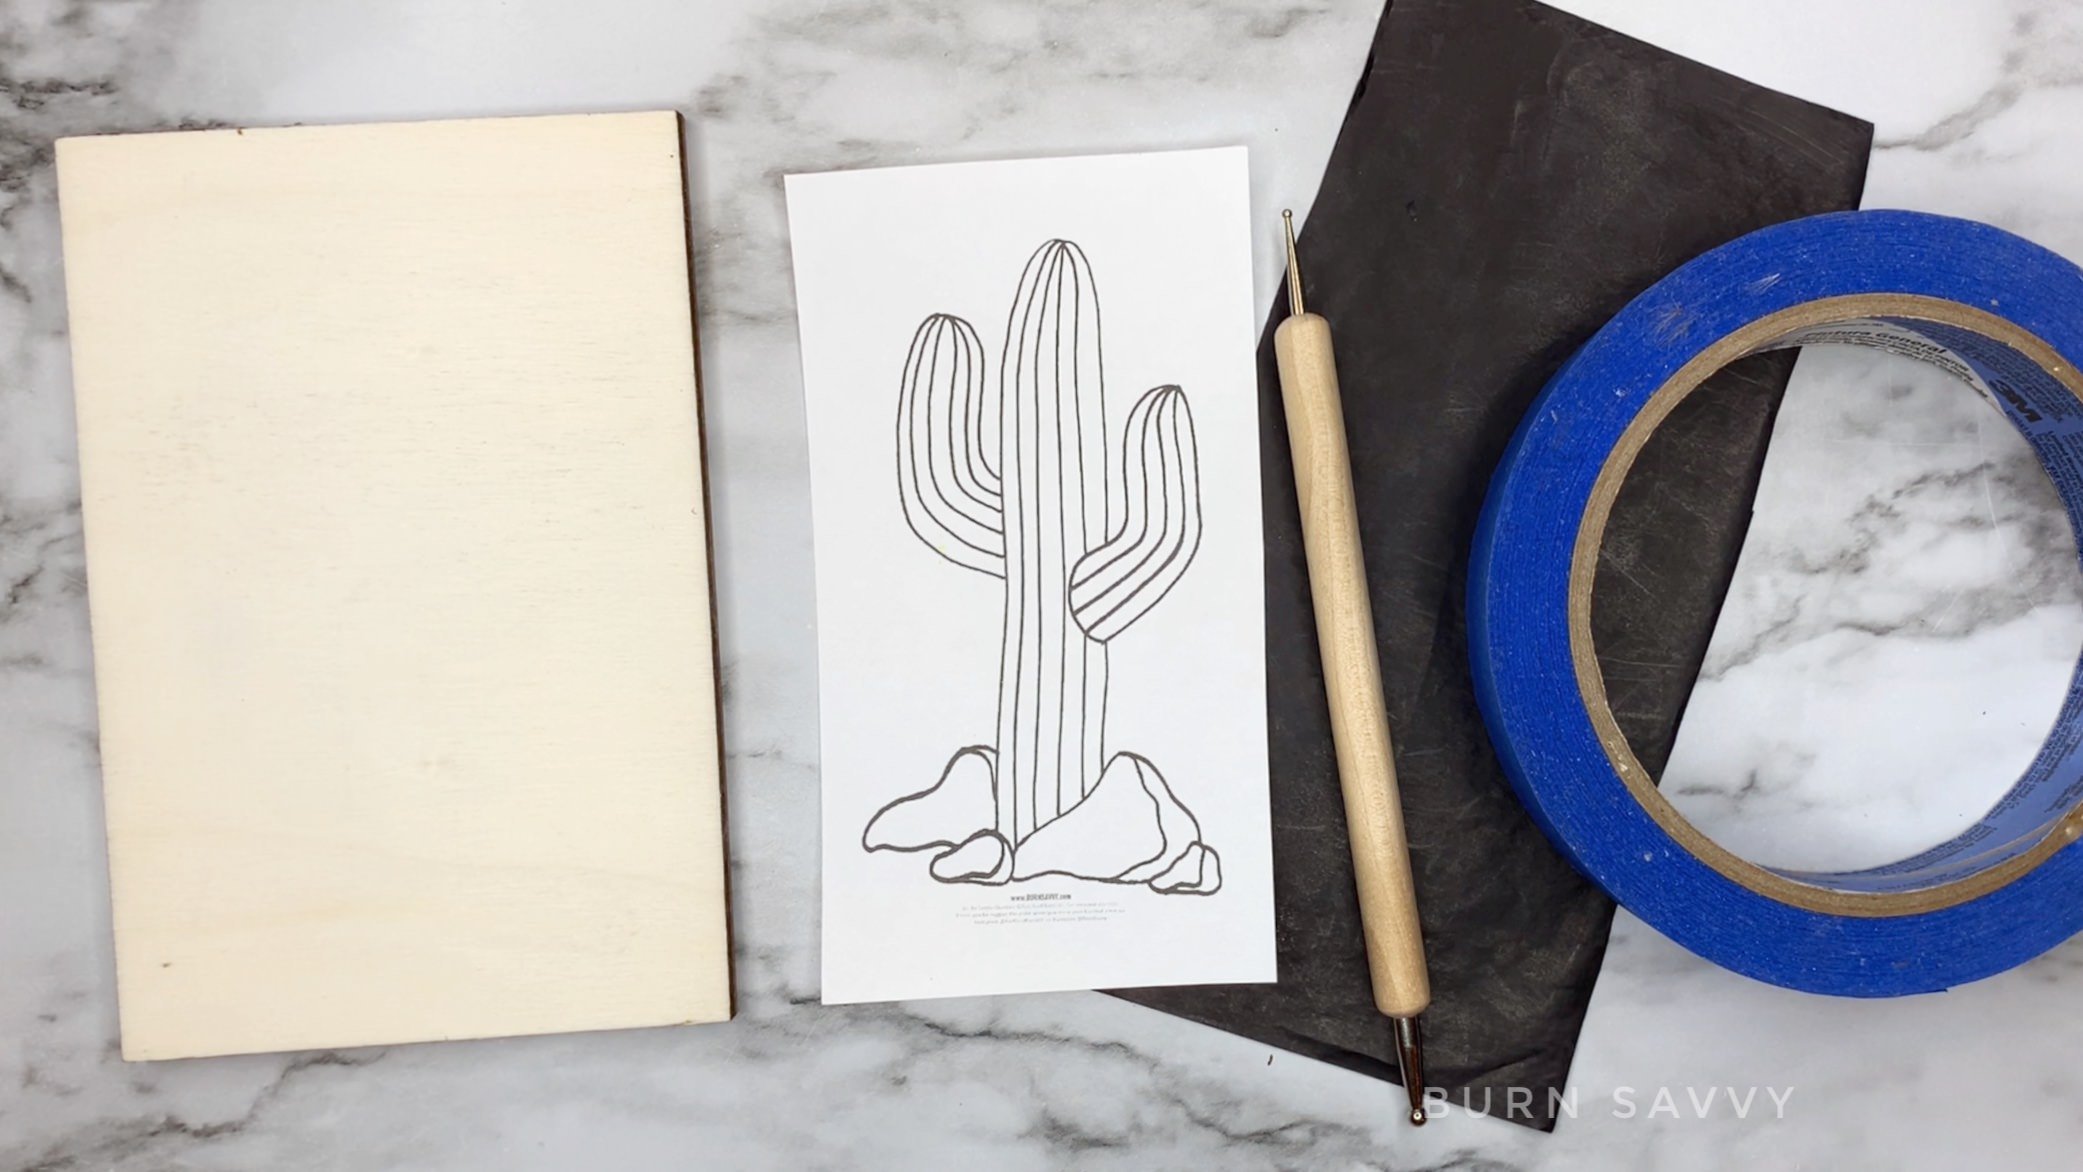
Place carbon paper or graphite paper dark-side down on your wood underneath your pattern.
Use a semi-sharp pointed tool to trace over the pattern. I use an embossing tool (a.k.a. nail stylus or paint dotter).
Easy peasy.
3. Heat Method
Pros
- most accurate pattern transfer
- clean
Cons
- most tech-savvy method (must print your pattern in mirror image)
- must use a laser printer
- hard to erase
- slight chance of burning your pattern
- can't reuse the pattern much
How to Transfer
Step 1: Size your pattern
Same as explained in the first method.
Step 2: Print your pattern
Flip your pattern to a mirror-image before printing.
Then use a laser printer or a copy machine to print it - no inkjet printers for this one. It won't transfer.
Tip: Most commercial printers that are not used specifically for “photo” printing are laser printers.
Step 3: Tape your pattern in place
Printed side down.
Step 4: Transfer your pattern
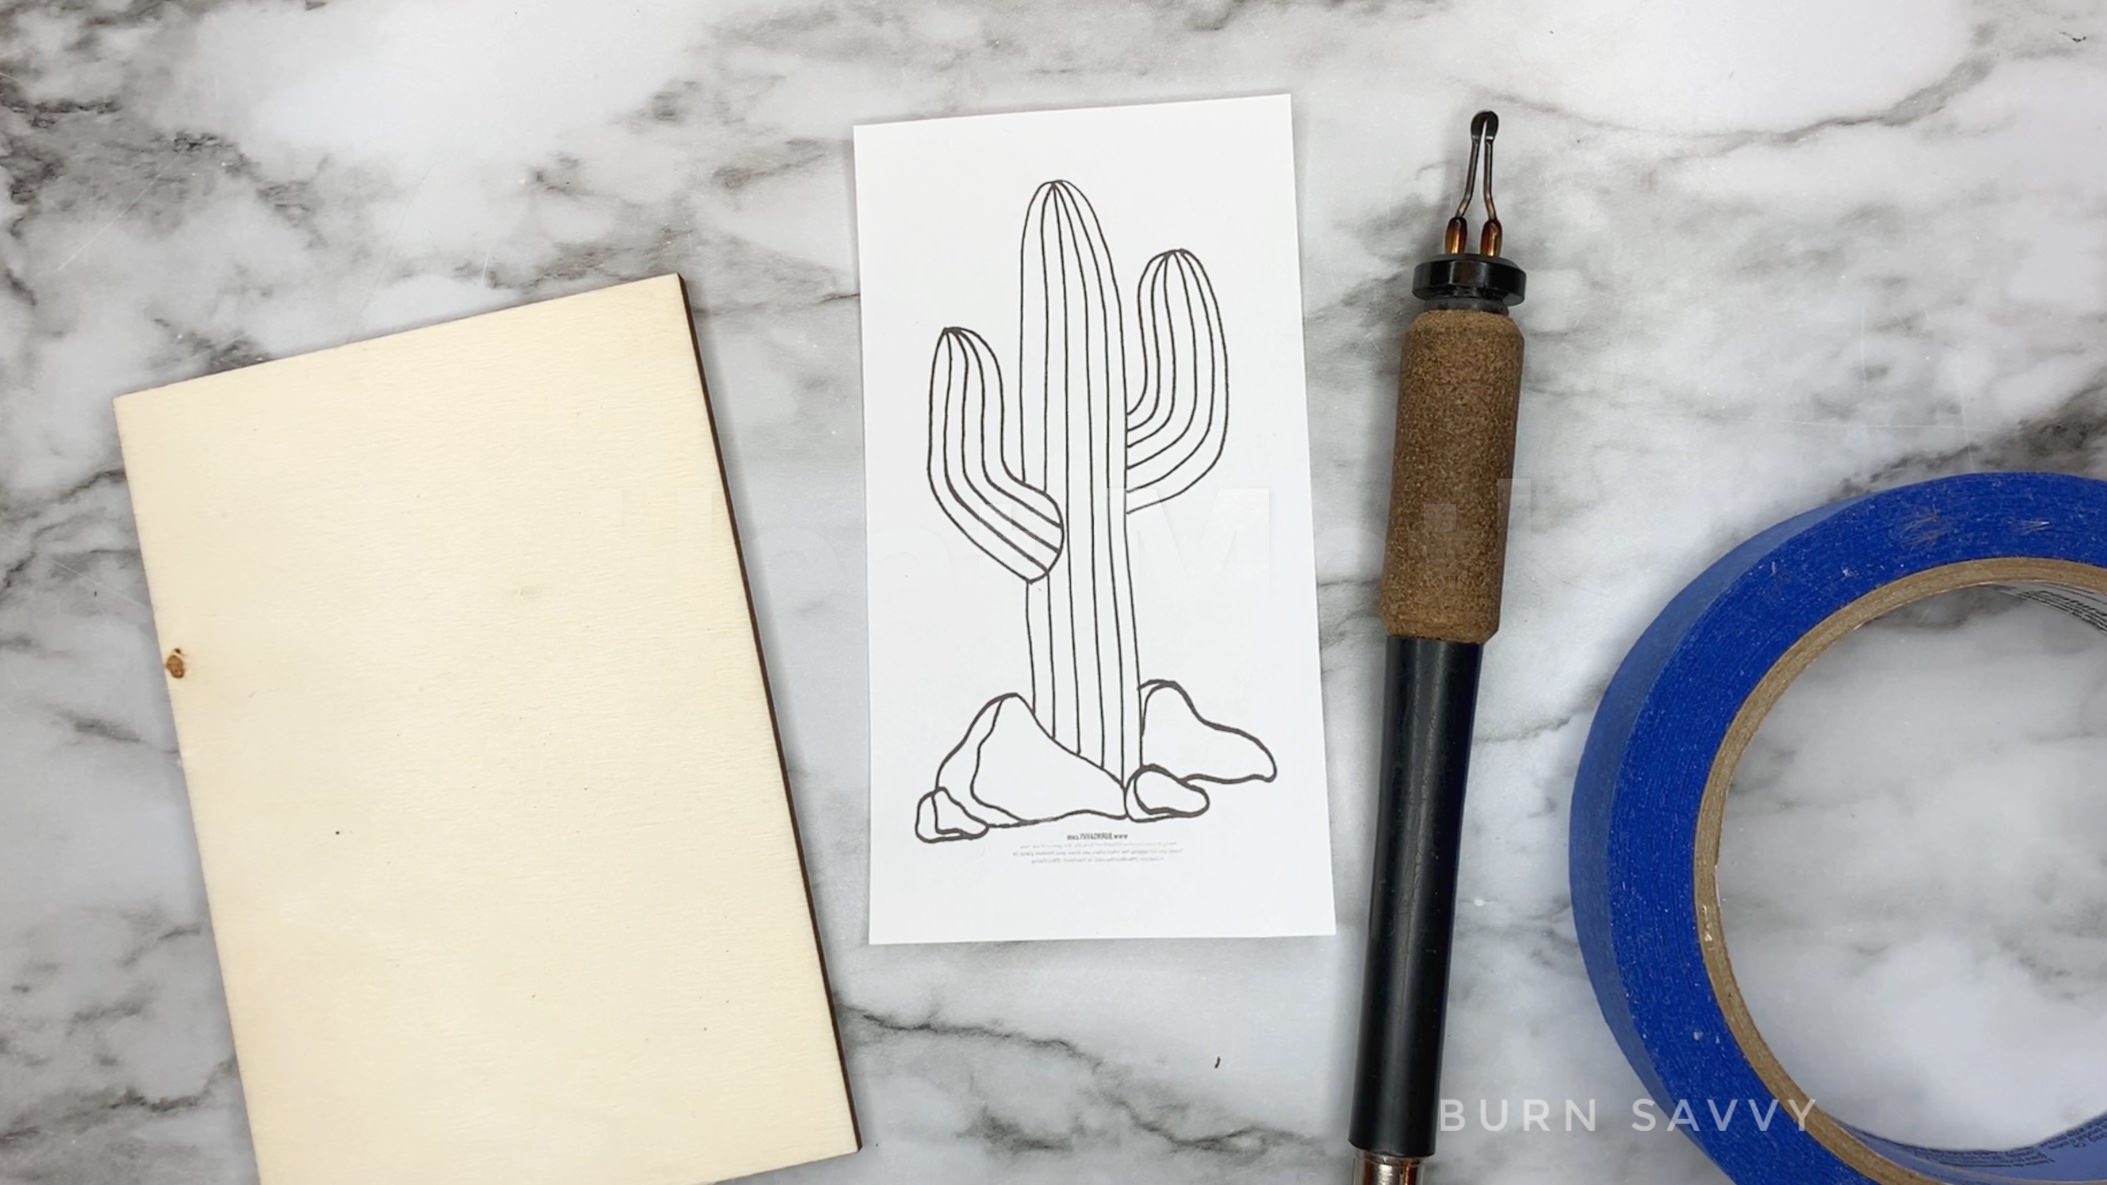
Using a woodburning machine on low heat, burnish (or rub) the blank side of the pattern until the whole design is transferred to the wood.
Solid Point Burners: Use a transfer tip. I put my Walnut Hollow Versa Tool on the yellow-orange level.
Wire Nib Burners: Use a flat or spoon shader. For reference, I put my Colwood Detailer on heat level 3-4.
Fun Fact: You can also use an iron for this! The woodburning tool is more accurate though.
A Few Quick Tips for Transferring Those Woodburning Patterns...
- Lift the pattern occasionally to make sure everything is transferring beautifully.
- If you burn over the lines, you won't have to erase them.
- If you're not going to burn the lines (like if you make a mistake while tracing) erase them BEFORE you start burning. Heat will set those lines into the wood and make them harder to remove.
Here are some woodburning patterns to try for yourself.
Email subscribers have access to more pyrography patterns in the exclusive Subscriber Freebies page. Sign up to gain instant access!
Burn Savvy Home > Pyrography Patterns > Transfer Woodburning Patterns
Want to seriously up your pyrography game?
I'm spilling my pyrography secrets. Don't miss out on...
- Your FREE guide to woodburning tips & their uses
- Helpful tips, hacks & articles
- First dibs on upcoming courses
- Notice of retreats, challenges, and other pyrography events
- and so much more coming!
So go ahead. Subscribe. Consume. Enjoy.
You deserve it.
⇣ Enjoying your FREE pyrography tips & techinques? ⇣
I am delighted you find them helpful!
If you want some easy ways to give back, here are some ideas that also help YOU level up YOUR wood burning game...
- Watch my YouTube videos (that's totally FREE).
- Buy your woodburning products through my affiliate links which throw me a dime or two at zero extra cost to you (read about affiliate links here).
- Take the pyrography courses that I've poured my heart and soul into helping you burn like a boss!
- Join in the woodburning retreats - that's really like giving back to yourself, actually. ;)
Thanks for helping me keep creating free, delightful, and helpful woodburning content for YOU and pyros like you.