Prep Wood for Woodburning Art More Easily:
4 Simple Tips
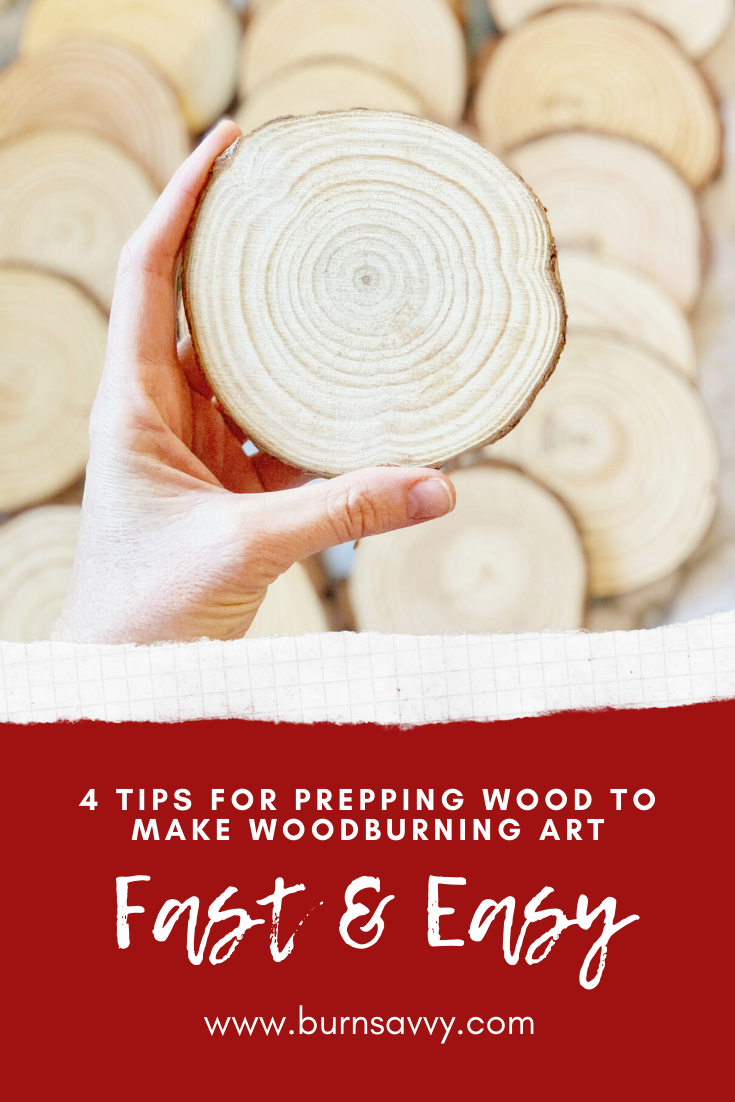
After you choose the best wood for woodburning, prepping your wood with a little sanding is the next way to make pyrography faster and easier on you, the artist.
It is soooo much easier to burn on a buttery smooth surface than a rough surface (where you have to dig that burner into color all those little ridges).
Sanding can be a pain though. That's why so many people skip it.
But trust me. You will burn way faster on a smooth piece of wood.
These are my top woodburning tips to make prepwork faster, easier, and worth your time.
Disclosure: This post contains affiliate links. If you buy something through them they throw me a small commission at no extra cost to you. I believe in these products so you know you are in good hands. ;) Plus it helps me to keep making *awesome* free content for you (learn more). I appreciate your support!
Want To Learn How To Wood Burn?


Courses are now available on the Burn Savvy YouTube channel membership!
Go see which level suits YOU best. ⇣
Tip 1: Use an Electric Sander
It goes soooo much faster with an electric sander than sanding your wood by hand.
Some people don't like this because it makes their hand tingle and itch like crazy (I get that itching too!). It also takes work to get all the stuff out and then clean up afterwards.
There are 2 solid ways to cut down on that itching. One way is to work fast (in other words, use the proper grit of sandpaper). The other way is to protect your hands.
We'll get into both of those right now.
Tip 2: Use the Proper Grit
You want a finely sanded surface to work on.
But if you've got a rough piece of wood, fine grit sandpaper will take you FOR.EV.ER. It's mostly going to polish up the ridges instead of removing them.
Use 50-80 grit sandpaper for rough wood. If its super rough, get your hands on a planer and level that surface first (or ditch it and get a smoother piece of wood for woodburning). Then follow up with the fine grit.
By fine grit, I mean between 150-220.
Sand any higher than 220 grit and some of your finishes won't adhere to it. The wood is too "polished" for it to stick.
Tip 3: Use Gloves
I use simple leather gloves.
Not only do these keep me from sanding my fingernails off, but they definitely cut down on the vibration and itching.
You can actually get anti-itch gloves designed specifically for people who have to work with vibrating tools and machinery on a regular basis.
Tip 4: Prep a bunch at once
You can prepare your wood for woodburning one piece at a time if you like. But I like to get 'er done in bulk.
Think about it.
You are getting all the tools out, getting all your gear on, and then cleaning up afterward (it makes a mess!). Doing your sanding in one big batch not only cuts down on prep work and cleanup time, but it also allows you to burn when you are ready to sit down and burn... instead of having to stop and sand something first.
I prepare a minimum of 5 pieces of wood at the same time (woodburning is my business afterall).
I try to get enough done to last me for about 1 month's worth of work. Then I only have to deal with the mess and prep work once.
Done!
Bonus Tip: Use Foam, Cork, or a towel under your wood while sanding
Using an electric sander can be rough on your workspace. It also tends to knock off big slivers that can work their way under your wood piece and create gouges. AND it can make your wood wiggle around underneath you and make sanding take longer instead of go faster.
The solution? Use something that not only keeps your wood in place, but also protects it from getting gouges on the underside.
A large foam or cork matte works wonders here.
So does a towel (one that you don't care if it gets messed up). That's what I use.
Towels cut down on some of the clean up time too. My towel catches a lot of the fine sawdust as I sand, then I just fold up the towel, shake it off outside, and use it to wipe the rest of the sawdust off my work space.
Now that You've Prepped Your Wood for Woodburning...
...it's time to prep your design.
⇣Here are my top 3 favorite ways to transfer woodburning designs to your project⇣.
Burn Savvy Home > Best Wood for Pyrography > Prepping Wood for Woodburning
Want to seriously up your pyrography game?
I'm spilling my pyrography secrets. Don't miss out on...
- Your FREE guide to woodburning tips & their uses
- Helpful tips, hacks & articles
- First dibs on upcoming courses
- Notice of retreats, challenges, and other pyrography events
- and so much more coming!
So go ahead. Subscribe. Consume. Enjoy.
You deserve it.
⇣ Enjoying your FREE pyrography tips & techinques? ⇣
I am delighted you find them helpful!
If you want some easy ways to give back, here are some ideas that also help YOU level up YOUR wood burning game...
- Watch my YouTube videos (that's totally FREE).
- Buy your woodburning products through my affiliate links which throw me a dime or two at zero extra cost to you (read about affiliate links here).
- Take the pyrography courses that I've poured my heart and soul into helping you burn like a boss!
- Join in the woodburning retreats - that's really like giving back to yourself, actually. ;)
Thanks for helping me keep creating free, delightful, and helpful woodburning content for YOU and pyros like you.