Woodburning Tips:
Shading Point And Its Uses
We've covered all the basic uses for the most common solid-point woodburning tips over here, but in this little article we're going to dig into the best uses for the shading point.
The shading point is about as versatile as the universal tip (or chisel tip).
It can pretty much do everything.
But like all pyrography tips, it does some pyrography techniques easier than others.
Here are the best - or rather the easiest - uses for the shading point.
Want To Learn How To Wood Burn?


Courses are now available on the Burn Savvy YouTube channel membership!
Go see which level suits YOU best. ⇣
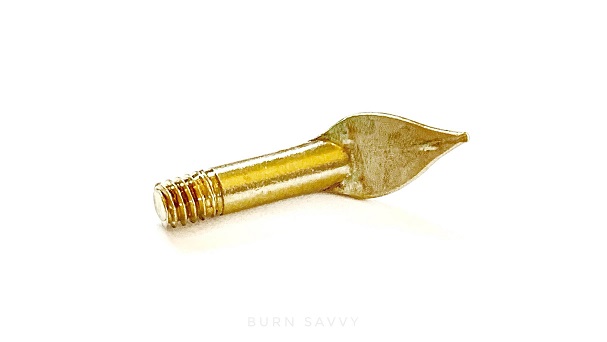
Shading Point Features
Some pyrographers call this handy little tip the leaf point.
It has almost a teardrop shape to it.
It's actually this aspect that makes this tip so adaptable and great for so many different techniques.
Did I tell you I made a Board?
I used all the woodburning tips on a basswood board to see which techniques were the easiest, what took some work, and what was a downright pain.
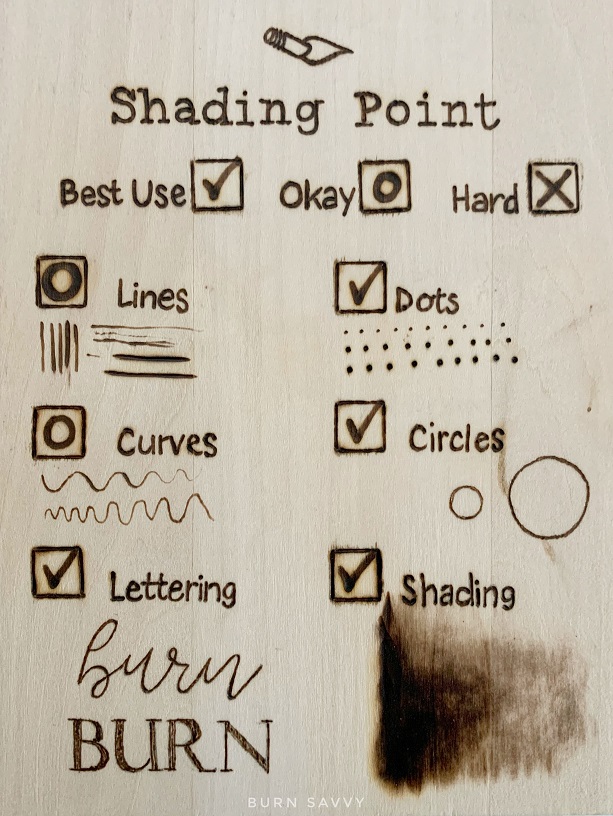
I give you a sample for the shading tip from the board down below.
Get the full board of solid-point woodburning tips and their uses for FREE when you sign up!
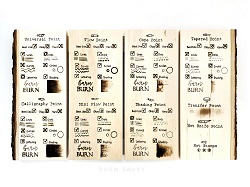 Woodburning Tips & Their Uses
Best Uses:
What I love About The Shading Point
There is a lot to love in this little woodburning tip.
- Shading
True to it's name, this little beauty does a wonderful job shading (as you can see on the little sample picture above from my woodburning tips board).
It's by far the easiest to make smooth gradient shades. If you have to shade along curved edges, I’d use this tip over the universal or calligraphy point tips.
- Lettering (especially fine lines)
This is great for fine, cursive lettering. When you turn the tip upside down so that only the very tip of the "leaf" touches the wood, it makes really fine lines.
It takes a little practice to do large block letters or small print, but overall it's not bad. It shouldn't take long to get the hang of that.
Those letters don’t get a bold look though. If you’re going for light and airy, this is a great tip.
- Dots (small)
If you want fine detail or small stippled areas, this is perfect. Again, just flip that shading tip upside down to get those small dots.
What's Okay About It
- Lines - curved or straight
As far as lines and curves go, I think this did okay.
It works really well for extremely fine lines when you turn it upside down like we just talked about. But larger lines are a bit tougher.
You can get some fairly straight lines when you turn it on it’s side, but it takes some effort to make those lines clean.
Totally doable, but it will take some practice.
What's Annoying or Hard
Ummm... nothing really.
If you're covering a large space with stippling, I'd choose a larger tip like the flow point tip since the shading tip makes such tiny dots.
But otherwise, I think this one handled all the techniques fairly well.
Like all tips, it takes practice to get good with it. But most of the common pyrography techniques were fairly easy to accomplish without trying very hard.
Download the Board of Woodburning Tips & Their Uses
⇣Sign up down there get FREE exclusive access to this board of woodburning tips and their uses.⇣
Burn Savvy Home > Woodburning Tips & Their Uses > Shading Point
Want to seriously up your pyrography game?
I'm spilling my pyrography secrets. Don't miss out on...
- Your FREE guide to woodburning tips & their uses
- Helpful tips, hacks & articles
- First dibs on upcoming courses
- Notice of retreats, challenges, and other pyrography events
- and so much more coming!
So go ahead. Subscribe. Consume. Enjoy.
You deserve it.
⇣ Enjoying your FREE pyrography tips & techinques? ⇣
I am delighted you find them helpful!
If you want some easy ways to give back, here are some ideas that also help YOU level up YOUR wood burning game...
- Watch my YouTube videos (that's totally FREE).
- Buy your woodburning products through my affiliate links which throw me a dime or two at zero extra cost to you (read about affiliate links here).
- Take the pyrography courses that I've poured my heart and soul into helping you burn like a boss!
- Join in the woodburning retreats - that's really like giving back to yourself, actually. ;)
Thanks for helping me keep creating free, delightful, and helpful woodburning content for YOU and pyros like you.