Wood Burning for Beginners:
7 Step Guide
⇢What I Wish I'd Known⇠
This guide to wood burning for beginners was made with YOU in mind. When I first started out, I was right were you are. I spent hours scouring the internet trying to figure out what the devil I was doing.
Sadly for me, there wasn't much on the world wide web...
...wait. Wrong. Let me rephrase.
There wasn't much out there for TRUE BEGINNERS on the world wide web.
Everything I read assumed I either had SOME experience (but I didn't) or that I used a fancy tool (ha! I had the cheapest solid-point burner out there).
I vowed to myself that I would change this. I would make that information available and put it OUT there for you... that is, once I got the foggiest idea of what I should be doing in the first place!
This little guide is a big part of fulfilling that promise.
Bookmark this page.
Pin it. Print it. Share it. Use it.
You'll definitely want to come back to it.

Want To Learn How To Wood Burn?


Courses are now available on the Burn Savvy YouTube channel membership!
Go see which level suits YOU best. ⇣
Rather not read? Watch This Instead:
Step 1: Choose a Burner

Choosing a tool comes wayyyy BEFORE you even start burning. That's why this is step #1 in my book when it comes to wood burning for beginners.
I mean, how the devil do you choose when you don't even know what the choices are??
So here you go.
You have 2 choices: the solid point burner and the wire nib burner.
Wire nibs tools are way easier to use (and learn on) plus you usually have more nib options.
Solid point burners are cheaper and usually easier to store on a shelf somewhere.
Which to choose?
Read this article here to help you decide which one is best for you. And if you scroll to the bottom, I list my favorite burner for each style of tool to make it easy for you to get the one you want.
I also have a list of other woodburning tools [that are NOT burners] that make life SO much easier as a pyrographer!
Step 2: Choose & Prep Your Wood
Choosing wood
When choosing wood, you've got to consider a few things (like is it toxic to burn??). Read this article on how to choose wood for wood burning.
As far as ease of use, the best wood for wood burning typically looks like this:
- light in color
Dark wood tends to hide the burn. The lighter the wood, the easier you can see your art.
- clear of knots
Knots may look really cool. But if you don't work them into your art piece, they can be distracting. Plus, because knots change the hardness or softness of the wood, they can be really unpredictable and frustrating to burn.
- smooth grain
When grain fluctuates from hard to soft, it makes your burn unpredictable. But if you have a smooth grain - the whole thing is hard grained or the whole thing is soft grained - your burn will have a much more even, intentional look.
If you have to work with a wood that has a lot of variable grain, you're going to spend a lot more time fighting the grain to get your burn to look the way you want.
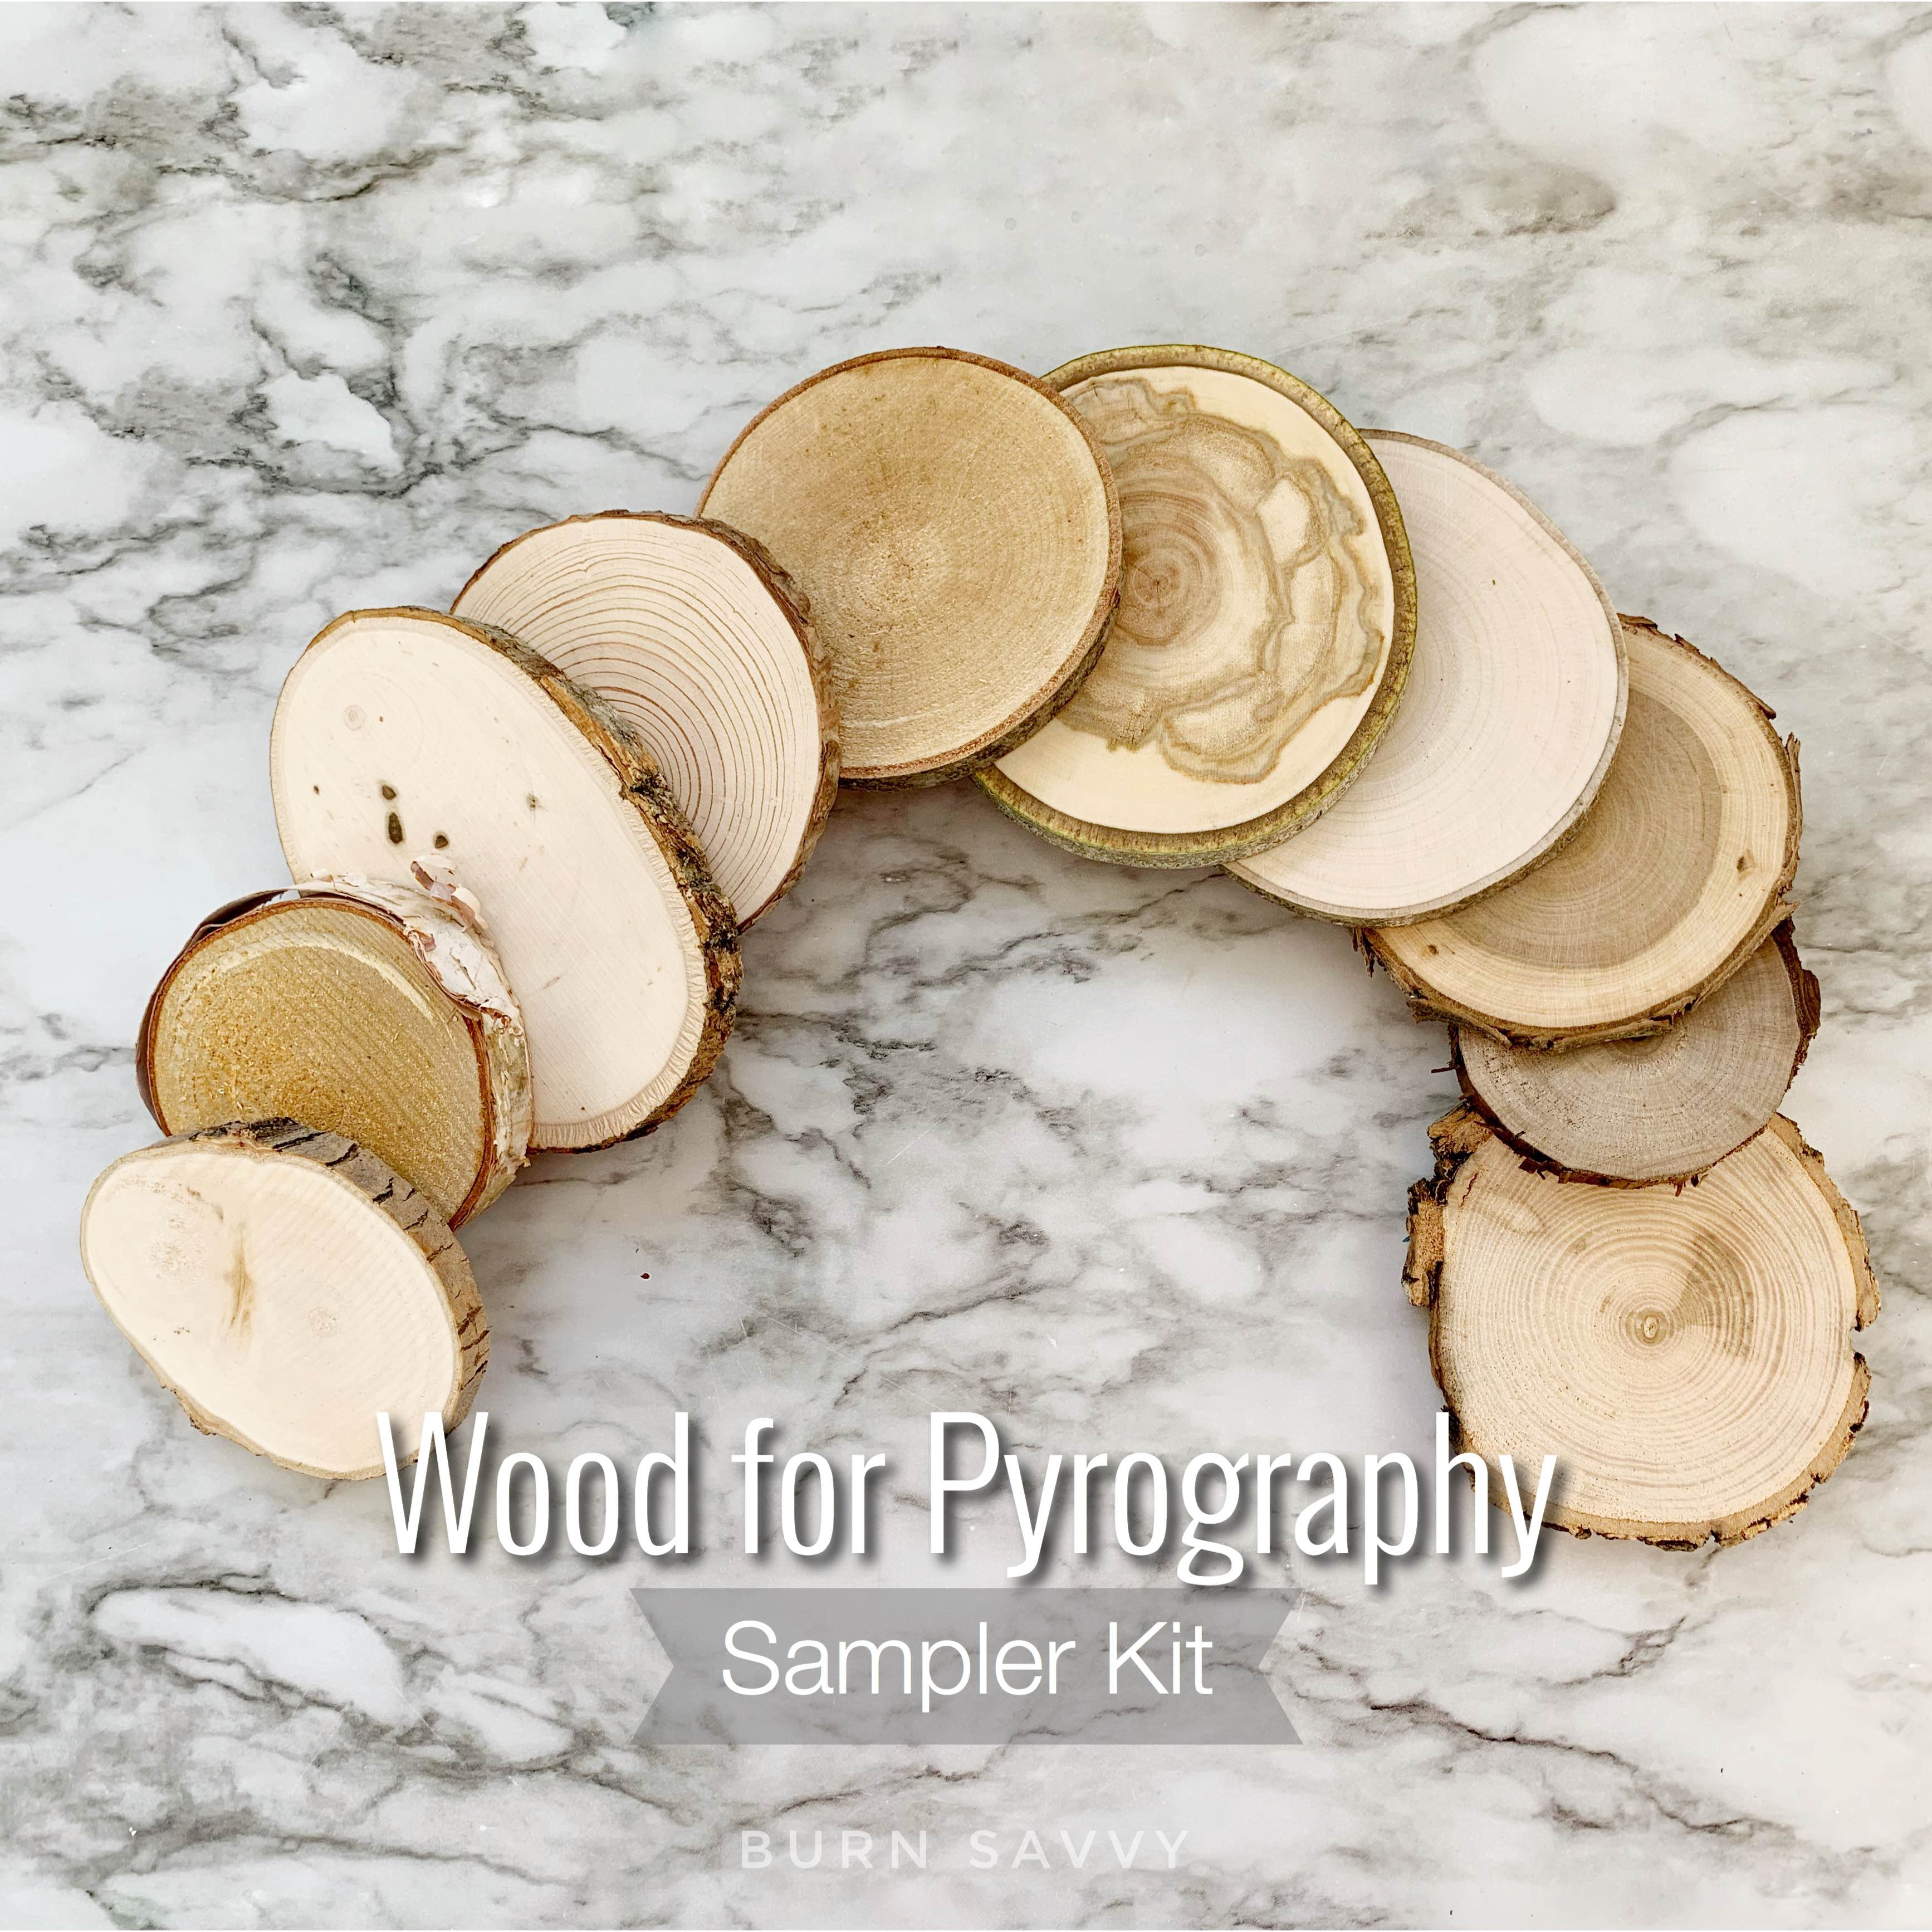
So which woods are best?
Here is a list of the most popular woods to burn + my opinions on each kind.
You can also order a wood sampler kit to make your OWN opinion. Which woods are YOUR favorite to burn?
Prepping Wood for Burning
Here's another gem that a lot of people miss when teaching or learning wood burning for beginners.
Prep. Your. Wood.
I didn't use to do this. I'm a little impatient (arguably lazy) when it comes to things like sanding your wood.
But OH how I repented when I learned how much it saved me!!!
Sanding your wood knocks the big ridges off and makes the wood more smooth. Smooth wood means smoother burning. Smooth wood means less "clean up" with a razor blade to remove blobbing burns. Smooth wood means a crisper, prettier picture in the end with LESS work overall.
Smooth wood = time saver!
Here are my favorite tips for prepping wood for woodburning.
Step 3: Prep Your Design
If you're using a pattern, you'll want to transfer it to the wood.
Here is a YouTube video with my favorite 3 ways to transfer a woodburning pattern to wood.
If you're making your own design, you have a couple options.
Some people like to sketch it out, then use that sketch as a pattern to transfer it to the wood.
Other's like to sketch directly onto the wood (I'm in this camp). Just make sure you draw lightly. It's crazy hard to erase pencil marks from wood - possible, but hard.
sTEP 4: sAFETY gEAR
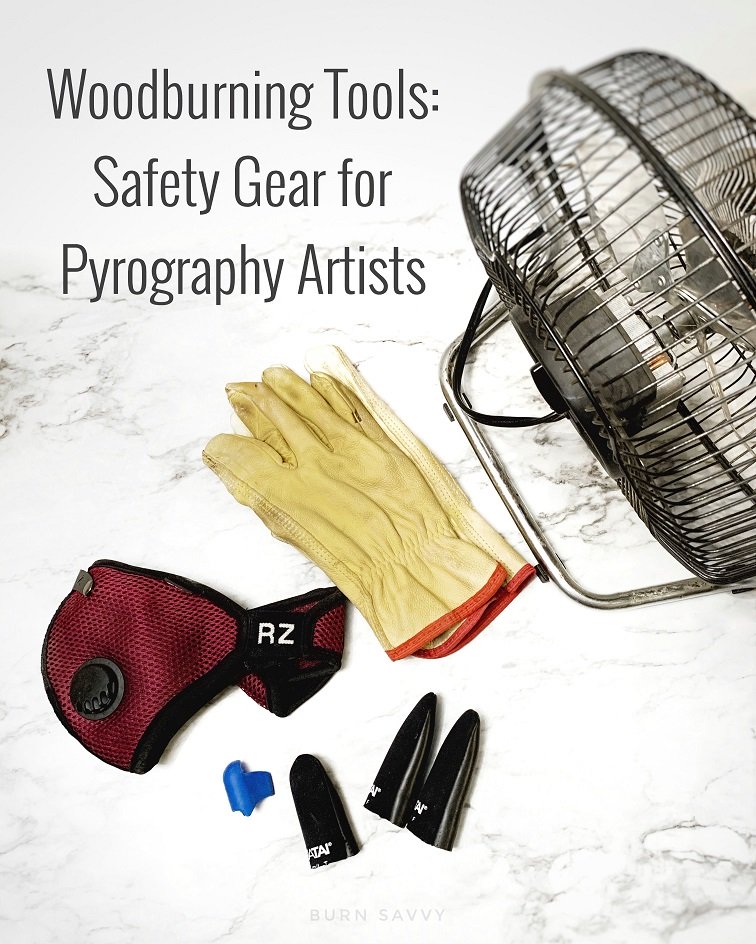
When I was teaching myself wood burning for beginners, I had ZERO idea that safety was a "thing".
I mean, it's an art... how dangerous could this really be?
Well, some of our fellow pyros found themselves in the hospital learning exactly this lesson.
Get the smoke and heat away from your lungs, face, and fingers.
Here is a list of my favorite safety gear + some safety tips and tricks you'll be so happy you know.
Step 5: Start Burning!
Yes, burning actually comes this late in the game. Who knew?!
Well, you do now.
I'm working on some more in-depth techniques on wood burning for beginners. But for now, here are some quick tips:
- Start lightly. You can always make a burn darker, but you can't always lighten a burn.
- Pull or Swing for smoother lines and shading, lightly touch the wood for stippling.
- Don't muscle this! Pressing harder won't work. That just breaks your tools. Let the heat do the hard work for you.
- Start with lines, not shading. Shading is not for beginners. Shading will make you cranky until you first know how to use your burner.
You can also join the FREE Beginner Woodburning Art Challenge [BWAC] Course and get savvy with all the woodburning fundamentals!
sTEP 6: Mixed Media
GOOD IDEA: Burn. Then add color.
BAD IDEA: Add color. Then burn.
Common mistake. A smelly one. An unsafe one. And another one I learned the hard way while teaching myself wood burning for beginners.
Burning over colors and stains means burning chemicals, waxes, glues, and other crazy stuff that make toxic fumes when they're burned.
If you want to add paint, colored pencil, stain, gold leaf, pressed flowers, magazine strips [or whatever!!!] this is the time to do it - AFTER you burn.
Step 7: Seal It

Did you know that burns fade over time?
Did you know that if they get washed (say on a cutting board or wood spoon), they will also fade?
Did you know that if you don't seal your wood it has a much greater chance of cracking? Even if it's wall art and not even getting "used"?!?
And did you know that if you use the RIGHT sealer, you can prevent it or slow it wayyyyyy down?!?
Talk about a frustrating lesson to learn!
You'll definitely want different finishes for different pyrography projects. Read my sealant recommendations.
Got More Questions?
I've got a FAQs page right here to help cover some of the most common questions other green pyrographers ask me.
I get a TRUCKLOAD of questions about wood burning for beginners - mostly about techniques.
So I created a couple courses that will help you burn like a boss!
Woodburning Techniques for Beginners:
The [LAB] Learn & Burn Course
We take 4 weeks to get you from beginner to boss!
You learn the main techniques that all professional woodburning artists use and constantly come back to.
Each week, we tackle one specific technique using several skill-based patterns.
These woodburning patterns help you develop the skills you need to master each given technique.
No more blobby lines.
No more panic about ruining good wood.
Read more about the [LAB] Learn & Burn Course - Wood Burning for Beginners - right here.
Beginning Shading to Advanced Shading Techniques:
Savvy Pyrography Shading Course
Shading is tough.
This course takes you from the basics of shading clear through the advanced techniques to help you get the buttery smooth woodburning shading that you crave.
Read more about the Savvy Pyrography Shading Course right here.

BURN SAVVY HOME > Wood Burning For Beginners
Want to seriously up your pyrography game?
I'm spilling my pyrography secrets. Don't miss out on...
- Your FREE guide to woodburning tips & their uses
- Helpful tips, hacks & articles
- First dibs on upcoming courses
- Notice of retreats, challenges, and other pyrography events
- and so much more coming!
So go ahead. Subscribe. Consume. Enjoy.
You deserve it.
⇣ Enjoying your FREE pyrography tips & techinques? ⇣
I am delighted you find them helpful!
If you want some easy ways to give back, here are some ideas that also help YOU level up YOUR wood burning game...
- Watch my YouTube videos (that's totally FREE).
- Buy your woodburning products through my affiliate links which throw me a dime or two at zero extra cost to you (read about affiliate links here).
- Take the pyrography courses that I've poured my heart and soul into helping you burn like a boss!
- Join in the woodburning retreats - that's really like giving back to yourself, actually. ;)
Thanks for helping me keep creating free, delightful, and helpful woodburning content for YOU and pyros like you.